Stug III (F1) - Mark Groth
+4
Andy J
John T
G Cooper
hmgroth
8 posters
Page 2 of 2
Page 2 of 2 •  1, 2
1, 2
 StuG III (F1) - Reference(s)
Caveat: The following images are posted solely for research and discussion. They are sourced from Flammpanzer German Flamethrowers, 1941-45, Tom Jentz & Hilary Doyle, Osprey New Vanguard No. 15, 1995.
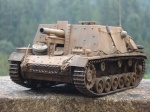
That said, I thought I'd include the purportedly sole photograph of the StuG III (F1) and the artwork from the above-captioned Osprey book.
First the photograph:
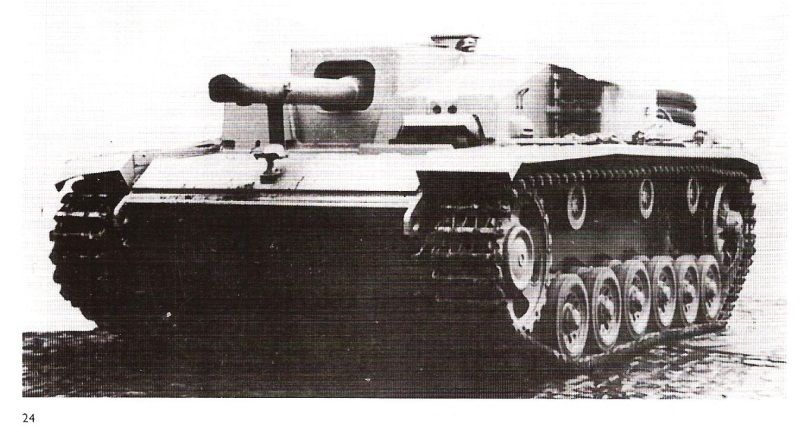
As you can see, the lower front plate in question is in total darkness and it is not possible to see if the lower plate is bolted or welded on. The kit does include both types of plates so I am going with the bolt-less one. Being a lower-front view, one cannot see the aperature for the gun sight. Looking at this photo in a larger size, though, is that a gun sight I see silhoueted against the ventilator? Not sure. If it is, I think I can still add one to mine without much trouble.
Here's the drawing from the same Osprey, obviously based on the photo:

The artist shows the lower front plate without the prominent bolt heads and shows a black void for the gun sight opening. Goodie--no help there.
Any comments are more than welcome!
Mark
That said, I thought I'd include the purportedly sole photograph of the StuG III (F1) and the artwork from the above-captioned Osprey book.
First the photograph:

As you can see, the lower front plate in question is in total darkness and it is not possible to see if the lower plate is bolted or welded on. The kit does include both types of plates so I am going with the bolt-less one. Being a lower-front view, one cannot see the aperature for the gun sight. Looking at this photo in a larger size, though, is that a gun sight I see silhoueted against the ventilator? Not sure. If it is, I think I can still add one to mine without much trouble.
Here's the drawing from the same Osprey, obviously based on the photo:

The artist shows the lower front plate without the prominent bolt heads and shows a black void for the gun sight opening. Goodie--no help there.
Any comments are more than welcome!
Mark
 Re: Stug III (F1) - Mark Groth
Frustrating isn't it when references aren't any help. With the lower hull armour I think you could go either way on that, unless you can find the chassis number and its build history this will remain unresolved. The gun sight is an interesting one! Certainly looks like something there in the photo. Perhaps other references to similar vehicles would help? What did the Flamm-Hetzer use? Or what would a standard F8 look like from a similar angle? Sorry I can't be more definitive in my ideas but maybe others will chime in with some good idea
Andy J- seasoned veteran

- Posts : 426
Join date : 2010-11-07
Age : 55 Location : Gunnislake, Cornwall
 Re: Stug III (F1) - Mark Groth
Here it is almost March and time to get back to the Fl. It's that damned mantlet cover . . . 
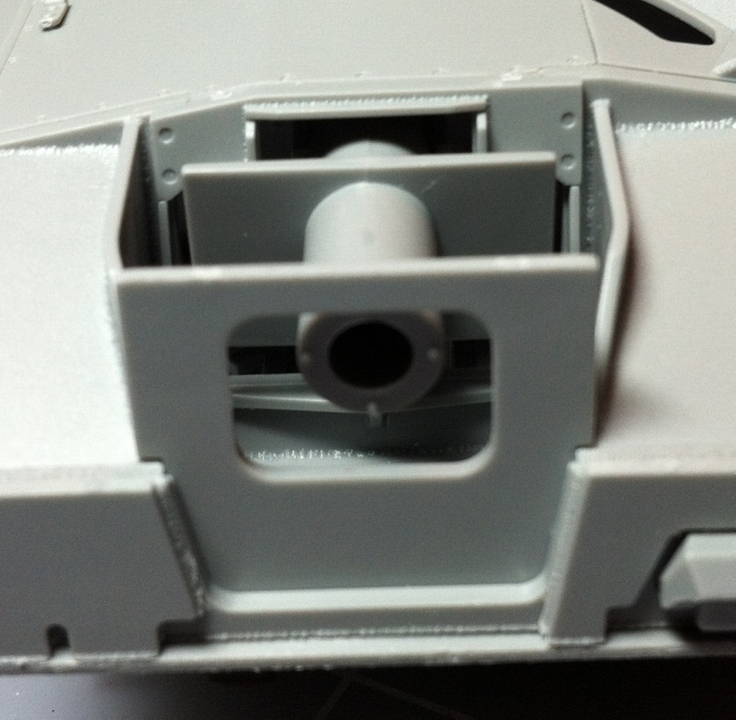
Here's a pic of the kit sans mantlet cover:
The kit comes with a PE cover, shown here:
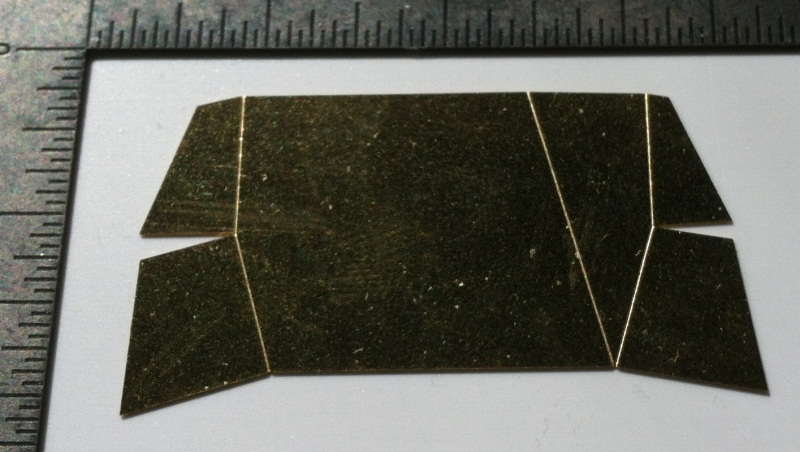
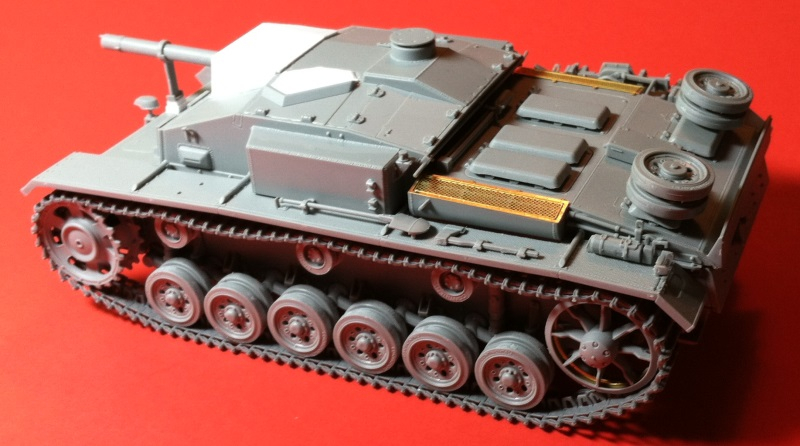
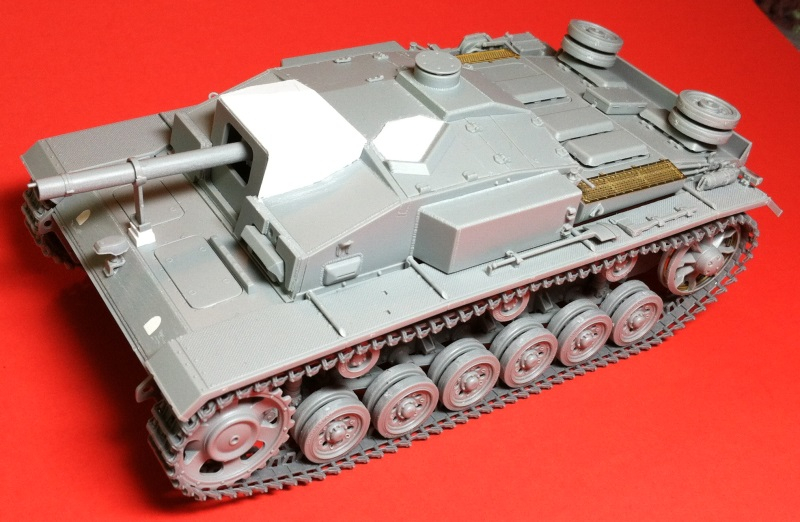
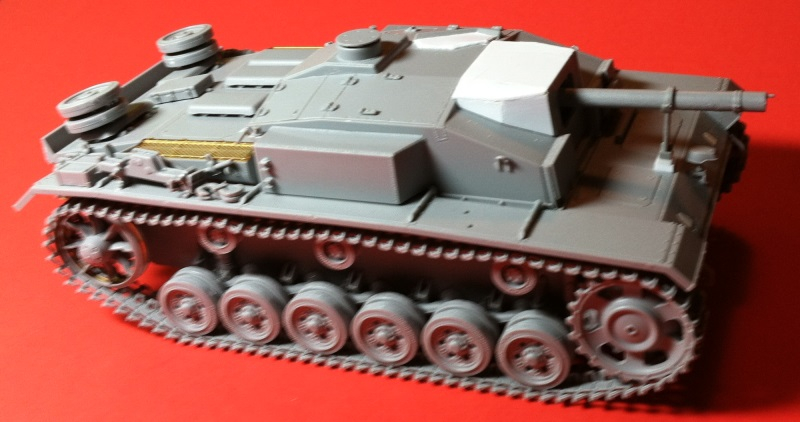
Nicely done with all the odd surfaces . . . only one problem . . . it doesn't fit properly (or at least I couldn't get it to fit properly). My solution was to break the PE apart and to use the various surfaces as starting points to make my own out of styrene sheet. Thank heaven for "The Chopper"! Anyway, here are two photos of the completed mantlet cover along with the plate covering the empty gun sight slit:
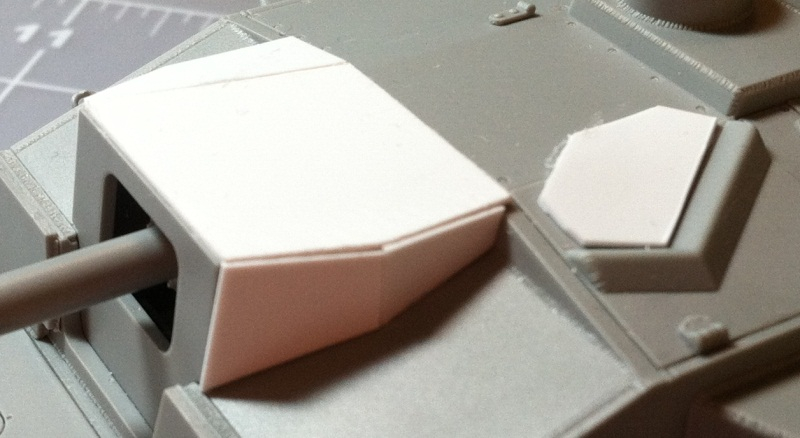
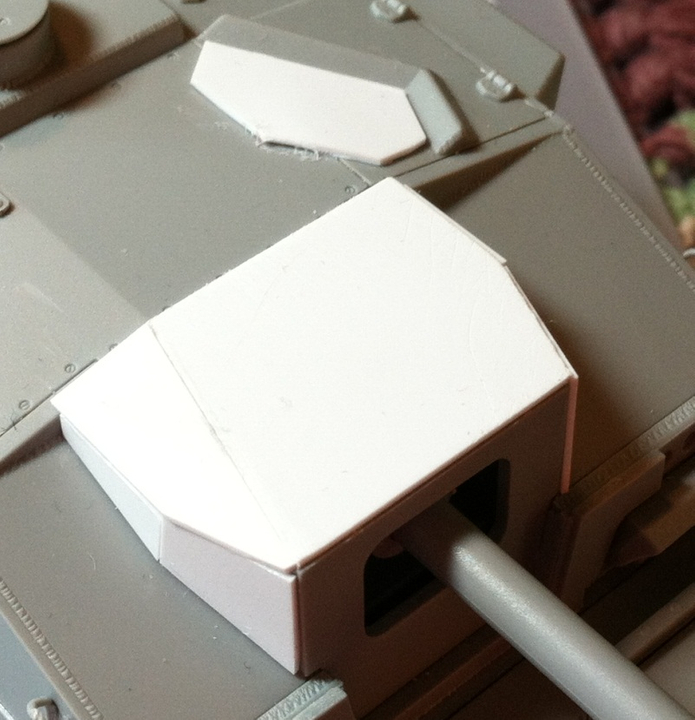
Note that the edges need some clean-up and/or putty. What is bugging me now is exactly how this cover was attached to the superstructure. In both the photo and drawing (in my previous post) and in the instructions there are no bolt heads nor weld beads visible. I'm curious as to how this was held on. I'm tempted to add some weld beads around the edges attaching it to the superstructure but need to make that decision before I decide how to clean-up the edges of the cover. I will be adding weld beads around the covering plate for the gun sight slit and painting it in a red oxide as previously suggested.
Any ideas or input on this? Btw, I have been working on the attachments to both fenders and cleaning up the wheels. Once this question is resolved and I take a deep breath and tackle the tracks, this baby will be ready to be joined together and painted.
Mark
Here's a pic of the kit sans mantlet cover:

The kit comes with a PE cover, shown here:

Nicely done with all the odd surfaces . . . only one problem . . . it doesn't fit properly (or at least I couldn't get it to fit properly). My solution was to break the PE apart and to use the various surfaces as starting points to make my own out of styrene sheet. Thank heaven for "The Chopper"! Anyway, here are two photos of the completed mantlet cover along with the plate covering the empty gun sight slit:


Note that the edges need some clean-up and/or putty. What is bugging me now is exactly how this cover was attached to the superstructure. In both the photo and drawing (in my previous post) and in the instructions there are no bolt heads nor weld beads visible. I'm curious as to how this was held on. I'm tempted to add some weld beads around the edges attaching it to the superstructure but need to make that decision before I decide how to clean-up the edges of the cover. I will be adding weld beads around the covering plate for the gun sight slit and painting it in a red oxide as previously suggested.
Any ideas or input on this? Btw, I have been working on the attachments to both fenders and cleaning up the wheels. Once this question is resolved and I take a deep breath and tackle the tracks, this baby will be ready to be joined together and painted.
Mark
 Re: Stug III (F1) - Mark Groth
Hi Mark:
Man those new Dragon StuGs are waaaaay nicer than the old ones

OK, now for a dose of reality
Gary

G Cooper- naughty corner commissar

- Posts : 3027
Join date : 2009-01-16
Age : 112 Location : Yuma, Az.
 Re: Stug III (F1) - Mark Groth
Thanks for the quick response, Gary, and for one that makes a LOT of sense. The access issue may be the deciding factor against welding the thing on. I'm sure the inner workings were a mess in those close quarters--one even reportedly burned up in the field.
Sooooo . . . I think I'll just putty, sand, and square-up all the joins and call it a day!
Mark
Sooooo . . . I think I'll just putty, sand, and square-up all the joins and call it a day!
Mark
 Re: Stug III (F1) - Mark Groth
Well, it's been quite some time since my last update and, while I haven't been working on my StuG dawn 'til dusk, I have made some more progress.
I decided to leave the cover "as is" and just clean-up the edges. I also added some weld beads to the sight opening cover:

I also completed work on the fenders and completed my first set of Magic Tracks. I must say they were much less hassle than I had been led to believe:

All I need to do now is to attach the front plate, two sections of the upper hull, barrel and support, tow cables, and antennae. Then it's off to the paint booth.
Gotta semi-clear the decks for the May 72nd-scale build and to get started on my Israeli build
Mark
I decided to leave the cover "as is" and just clean-up the edges. I also added some weld beads to the sight opening cover:

I also completed work on the fenders and completed my first set of Magic Tracks. I must say they were much less hassle than I had been led to believe:

All I need to do now is to attach the front plate, two sections of the upper hull, barrel and support, tow cables, and antennae. Then it's off to the paint booth.
Gotta semi-clear the decks for the May 72nd-scale build and to get started on my Israeli build
Mark
 Re: Stug III (F1) - Mark Groth
Looks great Mark! Well done
Cheers
JT
Cheers
JT
John T- Platoon Commander

- Posts : 2767
Join date : 2010-11-09
Age : 60 Location : Townsville, Australia
 Re: Stug III (F1) - Mark Groth
Hiya Mark:
That look nice and hot
Gary

G Cooper- naughty corner commissar

- Posts : 3027
Join date : 2009-01-16
Age : 112 Location : Yuma, Az.
 Re: Stug III (F1) - Mark Groth
Looks really kewl  , good point on the cleaning rods Gary
  , I am sure that some other Stug crew would have "liberated" them of the extra weight
  , Maybe they replaced them with giant marshamallow toasting forks ?
Jenny

Jenny
 Re: Stug III (F1) - Mark Groth
Finally had the chance over the past several days to get some paint splashed on my Fl. Oh, I decided to leave the cleaning rod on. Not sure, but I bet they had to somehow clean the tube. Anyhow, that's my story and I'm sticking to it. 
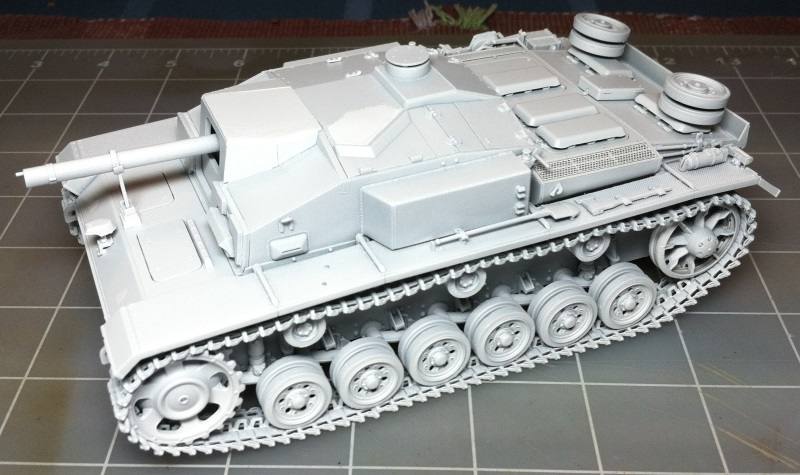
I first gave it a primer coat with some Tamiya white from the ol' rattle can that I had laying about:
I followed that with the first color from the AK Dunkelgelb Modulation set, spraying the lower hull and suspension with Shadow:

Then I sprayed the rest of the vehicle with Dark Base:

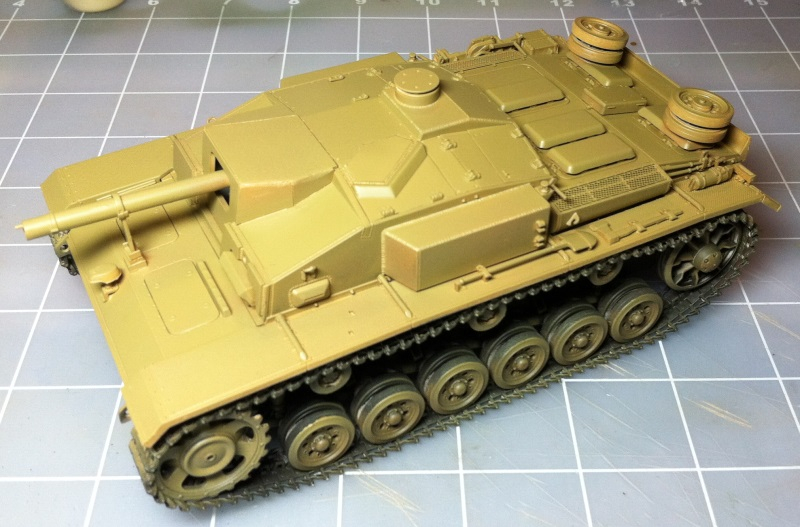
Next up was the Base color. I tried to leave Dark Base showing in the shadow areas. There actually is more of the Dark Base visible but it is being washed out in the photo:
Lastly, I sprayed Light Base and Highlight on the upper surfaces that would receive the most direct lighting. I painted the plate over the sight opening with True Earth red oxide and painted a couple of the covers with an extreme highlight to break up the one-color scheme. A satin coat was then applied in preparation for the few decals:
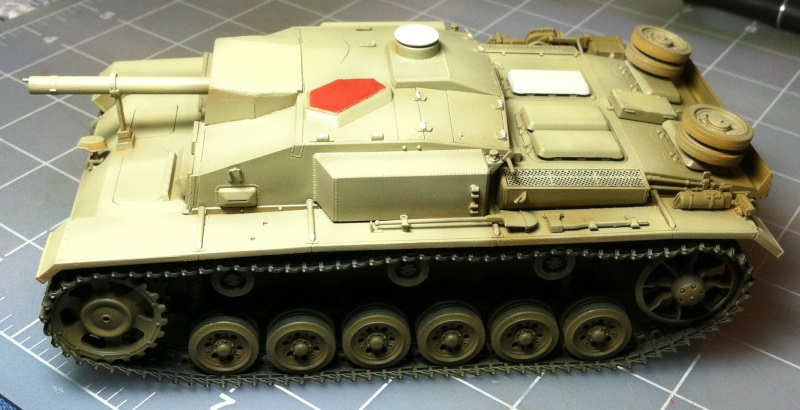
Although the photos do not show the true color differences, they don't show as much contrast as I would like. Lessons learned for next time.
Next up are the decals, tow cables, antennae, painting of on-board tools, etc., and then weathering. Onwards!
Mark
I first gave it a primer coat with some Tamiya white from the ol' rattle can that I had laying about:

I followed that with the first color from the AK Dunkelgelb Modulation set, spraying the lower hull and suspension with Shadow:

Then I sprayed the rest of the vehicle with Dark Base:

Next up was the Base color. I tried to leave Dark Base showing in the shadow areas. There actually is more of the Dark Base visible but it is being washed out in the photo:

Lastly, I sprayed Light Base and Highlight on the upper surfaces that would receive the most direct lighting. I painted the plate over the sight opening with True Earth red oxide and painted a couple of the covers with an extreme highlight to break up the one-color scheme. A satin coat was then applied in preparation for the few decals:

Although the photos do not show the true color differences, they don't show as much contrast as I would like. Lessons learned for next time.
Next up are the decals, tow cables, antennae, painting of on-board tools, etc., and then weathering. Onwards!
Mark
Page 2 of 2 •  1, 2
1, 2
 Similar topics
» Stug III Ausf.G "Finnish Army" - Mark Groth
» On The Mark Models IDF Pattern Jerrican Racks set AR-3551
» StuG III Ausf B 1/48
» StuG III Ausf.F by Pavel
» Stug III Ausf G w/Zemmerit
» On The Mark Models IDF Pattern Jerrican Racks set AR-3551
» StuG III Ausf B 1/48
» StuG III Ausf.F by Pavel
» Stug III Ausf G w/Zemmerit
Page 2 of 2
Permissions in this forum:
You cannot reply to topics in this forum
