Andy's other StuIG 33
5 posters
Page 1 of 1
 Andy's other StuIG 33
Well it's arrived...

This one is going to used to depict the tired looking vehicle in faded whitewash over grey and fitted with winterketten simply because the suspension can be articulated (if I'm careful)

This one is going to used to depict the tired looking vehicle in faded whitewash over grey and fitted with winterketten simply because the suspension can be articulated (if I'm careful)
Andy J- seasoned veteran

- Posts : 426
Join date : 2010-11-07
Age : 55 Location : Gunnislake, Cornwall
 Re: Andy's other StuIG 33
Pre-start photos of unbuilt kit and today's T&T home page

Sprues and the WWII Production tracks nicked from the other StuIG (which now has the magic tracks from this kit)

I'll start this build when I've got a bit more room, what with the original StuIG and the Pz III on the work bench it could get complicated with this many Pz III chassis on the go at the same time. And there's also the danger that my home could end up looking like the Alkett factory (prior to it's uninvited visit from 8th USAAF...)

Sprues and the WWII Production tracks nicked from the other StuIG (which now has the magic tracks from this kit)

I'll start this build when I've got a bit more room, what with the original StuIG and the Pz III on the work bench it could get complicated with this many Pz III chassis on the go at the same time. And there's also the danger that my home could end up looking like the Alkett factory (prior to it's uninvited visit from 8th USAAF...)

Andy J- seasoned veteran

- Posts : 426
Join date : 2010-11-07
Age : 55 Location : Gunnislake, Cornwall
 Re: Andy's other StuIG 33
Sweet, let the fun begin!
Cheers
JT
Cheers
JT
John T- Platoon Commander

- Posts : 2767
Join date : 2010-11-09
Age : 60 Location : Townsville, Australia
 Re: Andy's other StuIG 33
John T wrote:Sweet, let the fun begin!
Cheers
JT
Oh Yes! sIG 33 auf Pz III FTW!
I'm thinking that as this kit has a pretty complete interior I'm going to leave the hatches open. I think I'll need to add additional interior details but that shouldn't be too much of a problem Driver's compartment can come from CMK, ok it's for Tamiya kits but I'm sure I can bodge it in. The radios I have left over from my StuPa IV as I didn't use the command sets, these can be made to look like the standard Fu 5. And I reckon I can scratchbuild the ammo storage, I even have some ammo left over too!
Last edited by Andy J on Mon Nov 19, 2012 12:04 am; edited 1 time in total

Andy J- seasoned veteran

- Posts : 426
Join date : 2010-11-07
Age : 55 Location : Gunnislake, Cornwall
 Re: Andy's other StuIG 33
Actually Andy , have a look at the griffon interior set for the Brummbar , HERE , it has the same style ammo stowage I am sure .
Jenny
Jenny
 Re: Andy's other StuIG 33
That's the set! I used it for the StuPa IV and which I was going to use as a basis for this build, only using sheet styrene for the ammo storage. It's also where the radios will come from as I didn't use two of them (the Fu 8 set).

Andy J- seasoned veteran

- Posts : 426
Join date : 2010-11-07
Age : 55 Location : Gunnislake, Cornwall
 Re: Andy's other StuIG 33
Finally started it and not with the usual starting point either. As I needed a detailed gun as a guide for the Kursk StuIG 33 I had to start this one. Strewth, there are more parts on the recuperator housing on it's own than there are in the entire main armament on the older kit. Bit fiddly in places but it's looking rather nice and it has an interior!

Not only is there an interior but the breech block can be left open! I might have to do this. Anyone know if the Kubiinka photos are correct in the placement of the breech block handle?

And even more exciting is the discovery of the unused radios included in the kit, oh I so think these are going to be used Along with the CMK driver's compartment I have just ordered.

Not only is there an interior but the breech block can be left open! I might have to do this. Anyone know if the Kubiinka photos are correct in the placement of the breech block handle?

And even more exciting is the discovery of the unused radios included in the kit, oh I so think these are going to be used

Andy J- seasoned veteran

- Posts : 426
Join date : 2010-11-07
Age : 55 Location : Gunnislake, Cornwall
 Re: Andy's other StuIG 33
Hey Andy, mighty work on both models 

Pavel Zabák- Tank Commander

- Posts : 562
Join date : 2008-11-23
Age : 38 Location : Czech Republic
 Looking good Andy,
I've got the old one somewhere, This one was a good option for Dragon to update. Look forward to more updates. Dean

Dean Laughlin- seasoned veteran

- Posts : 145
Join date : 2009-01-04
Age : 57 Location : Mulwala. NSW
 Re: Andy's other StuIG 33
After a long break for Yule, norovirus (unpleasant and I won't go into details), new year and family commitments I finally have time to get back to building StuIGs!
Decided that I wanted to see if the CMK StuG interior set really does fit into the Dragon kit rather than get the airbrush out and start painting my Kursk StuIG as I was feeling a little guilty about neglecting this build. As the CMK set is designed for the Tamiya kits there's a bit of surgery involved, but nothing too onerous though. First thing is to remove the moulded on torsion bars and drill out the parts where the bars would go through them. This went without a hitch and I now have the gearbox mounts in place, after a little pruning with the knife, with the kit torsion bars fitted.
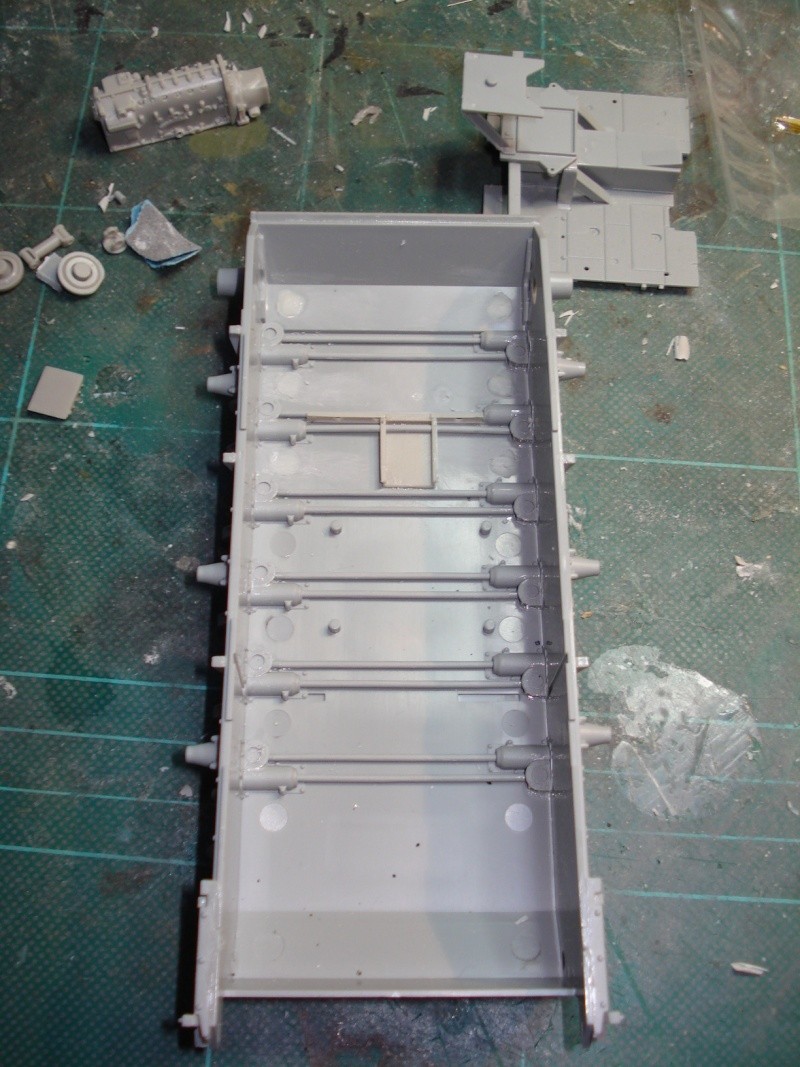
The kit supplied fighting compartment floor also needs a little modification to accommodate the gearbox so out with the saw, knife and files. A bit rough looking, but no one is going to see it when the hull is completed.
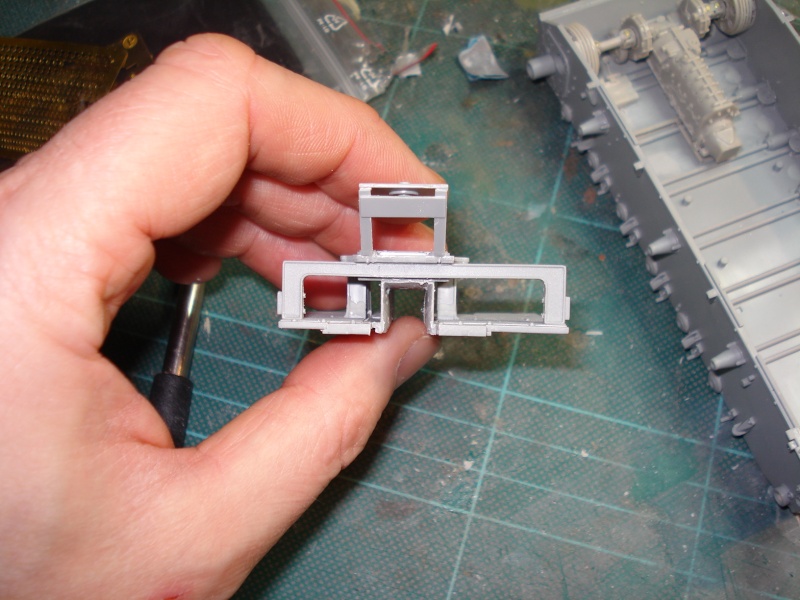
Gearbox, driveshafts, differentials and brake housing all went in very smoothly and without any further modification. However, as the brake housings were designed for the Tamiya kit, the location was a bit hit and miss so there was a lot of dry fitting, blu-tak and pencil marking involved to make sure that everything lined up. I also took the opportunity to add some brass bolt heads to the universal joints. The only extensive modification was to the driver's footplate, this needed to be completely thinned out very carefully so that it would fit over the front torsion bars.

And with the fighting compartment floor in place. Yay! it all lines up!

Lots more to do, including winding some coil springs.
Decided that I wanted to see if the CMK StuG interior set really does fit into the Dragon kit rather than get the airbrush out and start painting my Kursk StuIG as I was feeling a little guilty about neglecting this build. As the CMK set is designed for the Tamiya kits there's a bit of surgery involved, but nothing too onerous though. First thing is to remove the moulded on torsion bars and drill out the parts where the bars would go through them. This went without a hitch and I now have the gearbox mounts in place, after a little pruning with the knife, with the kit torsion bars fitted.

The kit supplied fighting compartment floor also needs a little modification to accommodate the gearbox so out with the saw, knife and files. A bit rough looking, but no one is going to see it when the hull is completed.

Gearbox, driveshafts, differentials and brake housing all went in very smoothly and without any further modification. However, as the brake housings were designed for the Tamiya kit, the location was a bit hit and miss so there was a lot of dry fitting, blu-tak and pencil marking involved to make sure that everything lined up. I also took the opportunity to add some brass bolt heads to the universal joints. The only extensive modification was to the driver's footplate, this needed to be completely thinned out very carefully so that it would fit over the front torsion bars.

And with the fighting compartment floor in place. Yay! it all lines up!

Lots more to do, including winding some coil springs.

Andy J- seasoned veteran

- Posts : 426
Join date : 2010-11-07
Age : 55 Location : Gunnislake, Cornwall
 Re: Andy's other StuIG 33
Looks pretty sweet! A little bit of work is really paying off with that interior.
Cheers
JT
Cheers
JT
John T- Platoon Commander

- Posts : 2767
Join date : 2010-11-09
Age : 60 Location : Townsville, Australia
 Re: Andy's other StuIG 33
I have had some time to myself! Yay! So I have used my time wisely and got on with this StuIG. The driver's compartment is now complete and the fighting compartment is in place awaiting such things as ammo bins, stowage racks and the other paraphernalia associated with interiors.

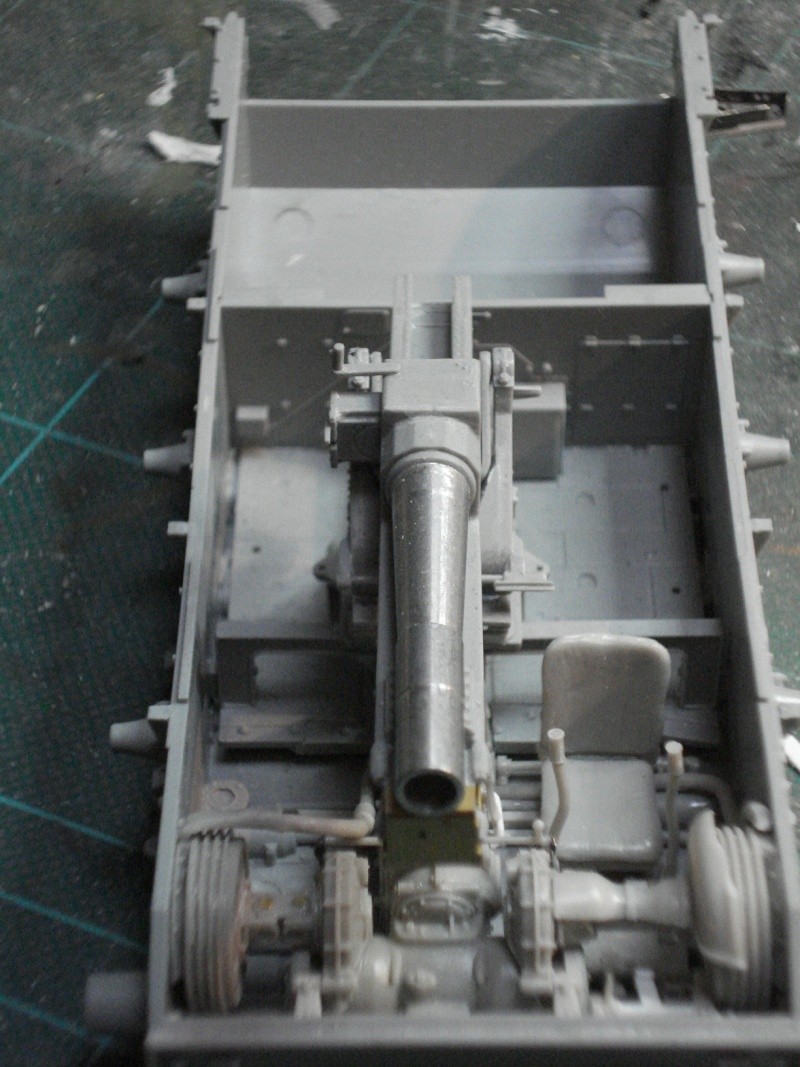
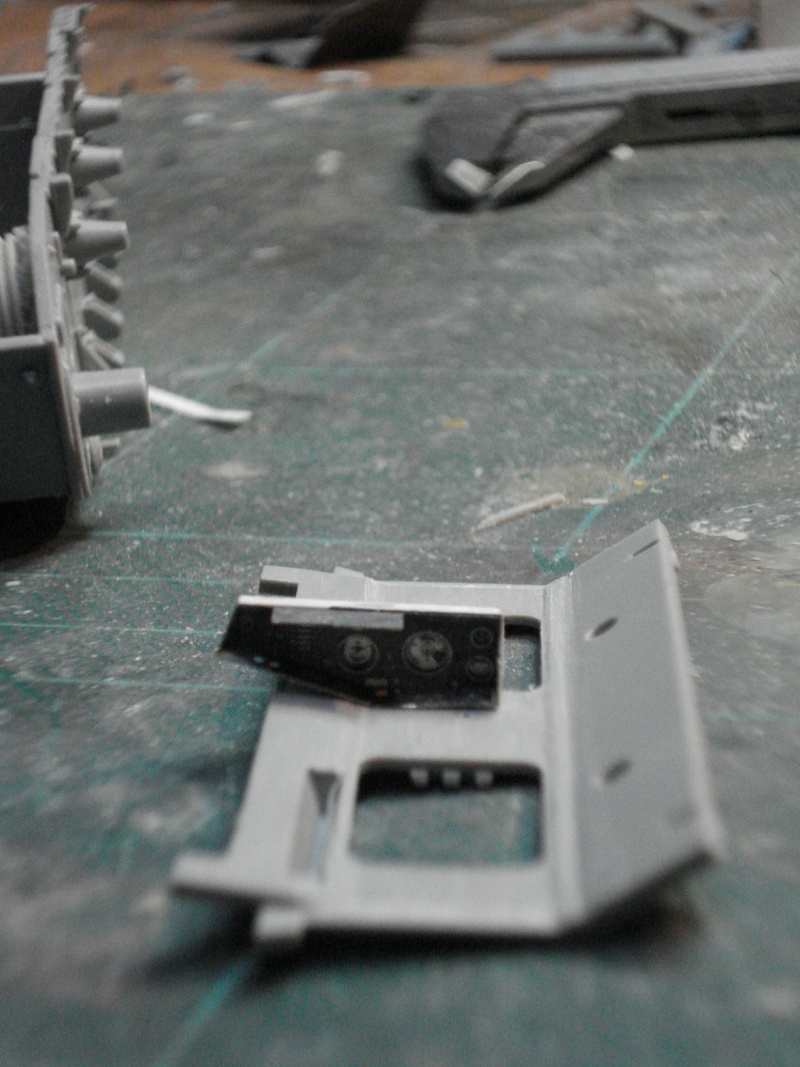
However, that will have to wait until I have the track guards on, and those can't go on until I have the suspension sorted out, so it was time to get back to section 1 of the instructions and get cracking. For those of you who can remember I was going to depict a particular vehicle with a distinct nose-down aspect and fitted with winterketten. I had left the torsion bars un-cemented at the swing-arm end so that the suspension can articulate, which only left the removal of the locating lugs moulded onto the hull tub, quickly going at them with the clippers and file made short work of those.
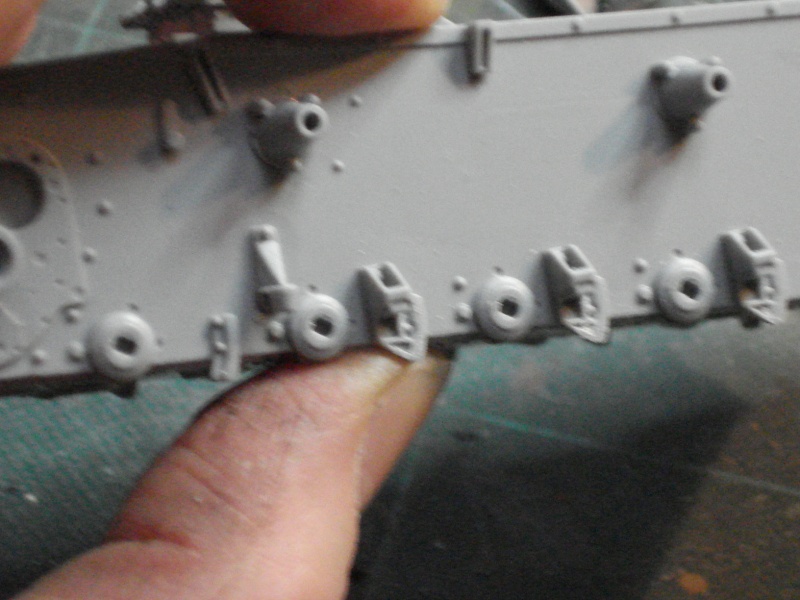
With this as the result when using un-modified kit supplied shock-absorbers. ok, it has the nose-down aspect but only because it's too high at the back. Looks more like a hot-rod than a Panzer Box at the moment
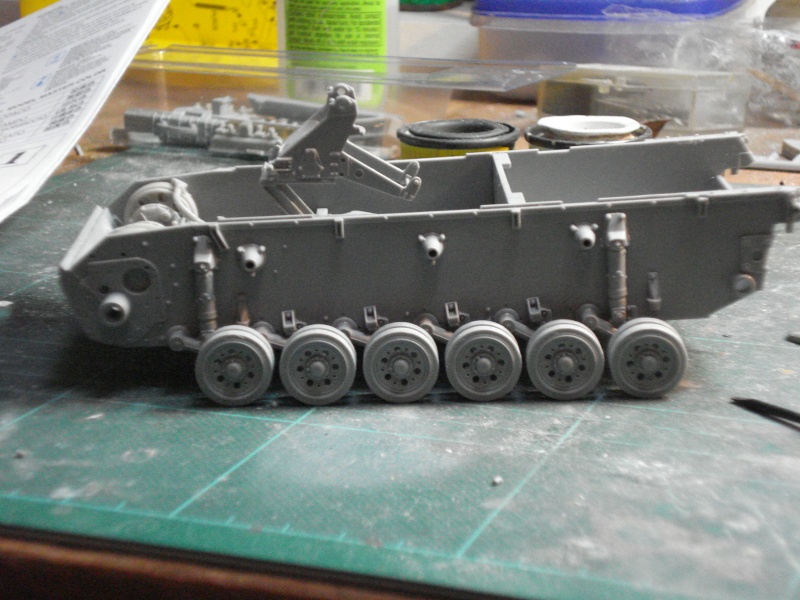
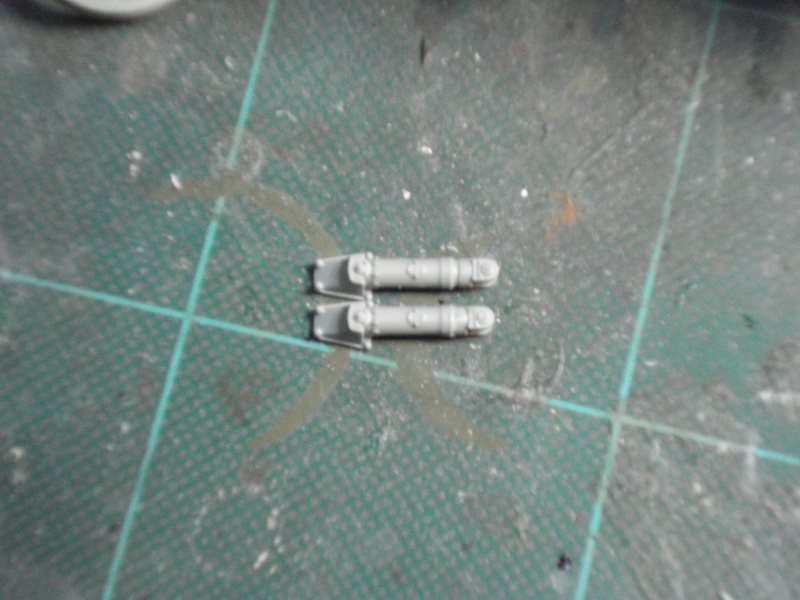
I thought this might be the case so it was out with the saw for plan B to remove the swing-arm bearing assembly from the shock-absorber body so that I could gain 1.5 mm in vertical movement of the swing-arm.
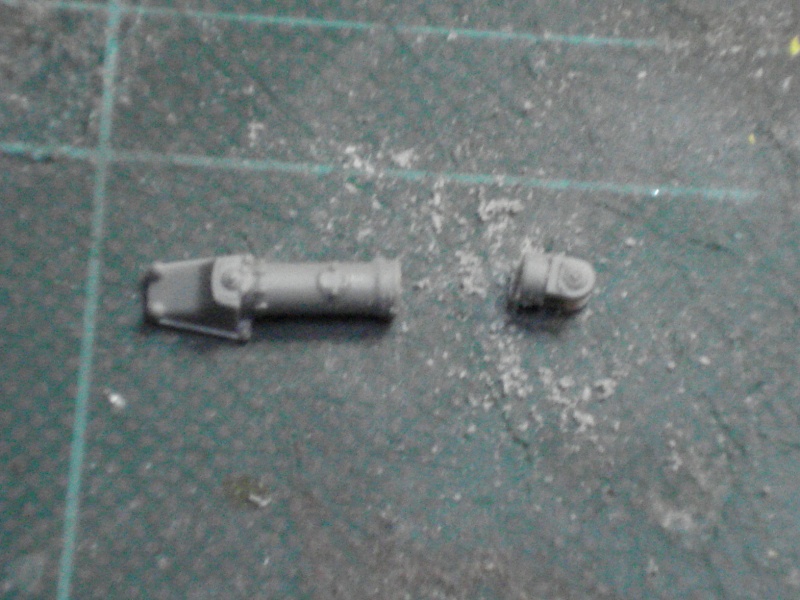
Clean up the cut and re-attach the bearing assembly and compare with the un-modified part.
Makes for a subtle change in aspect, the whole vehicle sits lower with the nose-down aspect only from the front being lower and not because it's got its arse up in the air. Result! The aspect looks something like the photographed vehicle.
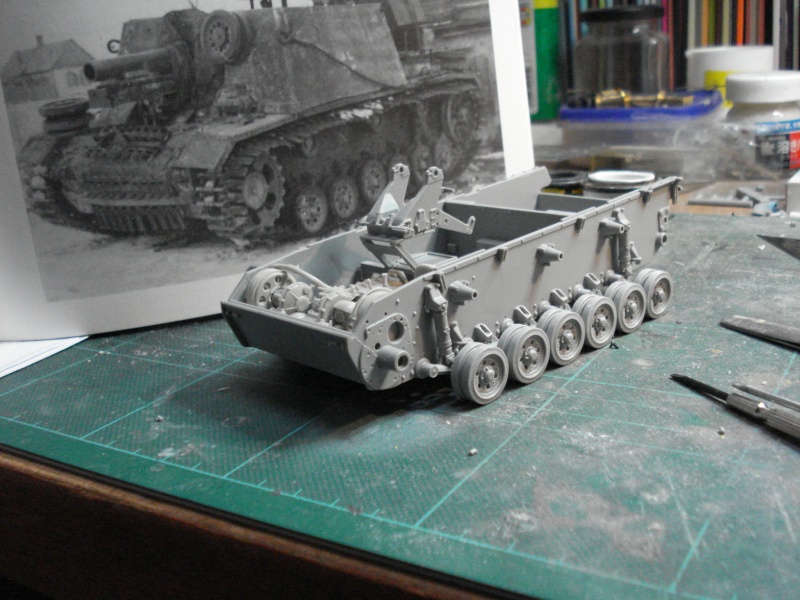


However, that will have to wait until I have the track guards on, and those can't go on until I have the suspension sorted out, so it was time to get back to section 1 of the instructions and get cracking. For those of you who can remember I was going to depict a particular vehicle with a distinct nose-down aspect and fitted with winterketten. I had left the torsion bars un-cemented at the swing-arm end so that the suspension can articulate, which only left the removal of the locating lugs moulded onto the hull tub, quickly going at them with the clippers and file made short work of those.

With this as the result when using un-modified kit supplied shock-absorbers. ok, it has the nose-down aspect but only because it's too high at the back. Looks more like a hot-rod than a Panzer Box at the moment

I thought this might be the case so it was out with the saw for plan B to remove the swing-arm bearing assembly from the shock-absorber body so that I could gain 1.5 mm in vertical movement of the swing-arm.

Clean up the cut and re-attach the bearing assembly and compare with the un-modified part.

Makes for a subtle change in aspect, the whole vehicle sits lower with the nose-down aspect only from the front being lower and not because it's got its arse up in the air. Result! The aspect looks something like the photographed vehicle.


Andy J- seasoned veteran

- Posts : 426
Join date : 2010-11-07
Age : 55 Location : Gunnislake, Cornwall
Page 1 of 1
Permissions in this forum:
You cannot reply to topics in this forum