
Dragon Flakpanzer IV Ostwind in box review.
+2
S P Hammerton
G Cooper
6 posters
Page 1 of 1

Dragon Flakpanzer IV Ostwind in box review.
![]() G Cooper Sun Sep 02, 2012 3:14 am
G Cooper Sun Sep 02, 2012 3:14 am

Dragons loooooooong anticipated (several years now since the first announcement) release of their Ostwind has finally hit the shelves, and I couldn't be more excited about the prospect of putting it together
Upon opening the box you are presented with what has become the standard for Dragon smart kits. That is a card header with the photo etch, magic tracks, decals, and a few of the small sprues attatched with all that georgous light grey Dragon plastic peeking out at you from around the edges. And boy oh boy are there lots and lots of what we have all come to expect of beautifully molded Dragon parts in the box. The amazing and frightening number that I came up with was 1,076 pieces, and that was NOT counting the 240 magic tracks
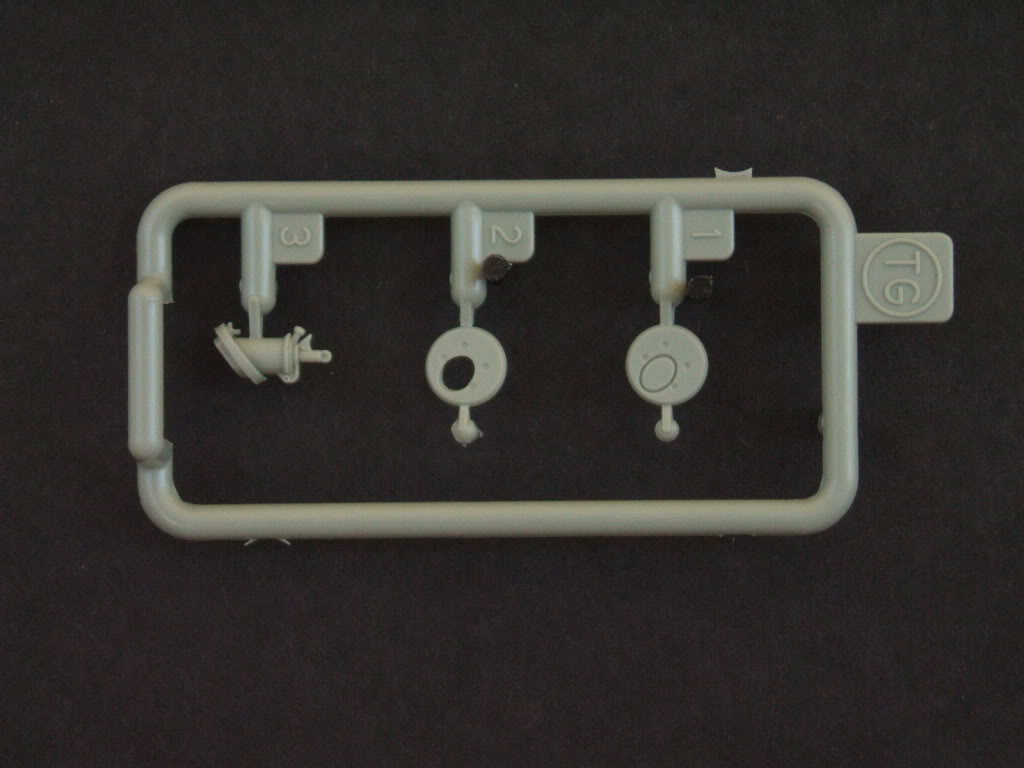
 . A wonderfull little close in self defence grenade thrower thingy thing (not really sure what the technimacle name is for it)
  .
.
And there is also one sprue; "G" that is not even on the parts list on the instruction sheet which has 53 pieces, 4 of which get used. I counted these spare parts box fillers and came up with a count of 535 parts that are not for use on this kit. This is usually when I do my happy dance
to get so much what I consider "update parts" for use on older kits with not so sharp detail pieces. It is easy to see where all these extra parts come from. And that is the Dragon practice of using sprues from previous kits, even if you only need a few of the parts for what you are putting together. Going through the parts I found there were sprues from no less than 8 diffrent kits which are, Pz IV H, Brumbar, Wirbelwind, Pz IV J, Jagd Pz IV L70, Pz IV F2(G), Ostwind, and finally that by now standard inclusion in every kit, the beautiful little hull mg from the Panther kits to make up the necessary outfit to make the Ostwind.
So now we need to look at what it is they give us, and what we can really do with it. To do that, we need to look at what the Ostwind really was. And that is a complicated VERY limited available reference exercise in futility. But there is some help out there. Most notably the great book "Nuts & Bolts no. 13 Flakpanzer IV Wirblewind and Ostwind" that helps to clear up at least a little bit of the mystery surrounding this vehicle. There were two versions of the Ostwind. A pre-production model, and the actual production model. And some of the biggest changes are in the turret, running gear, engine exhaust, and hatch layout. When they made the pre-production model they used a "G" hull as the base, and a soft steel turret and sent it off to combat trials in the Ardennes offensive. The prototype actually survived that and returned with a list of suggestions for improvement which were implemented on the production run. The most obvious of these changes were an enlarged turret with "chin armor" gussets on the front of the turret. Also they moved the turret forward inorder to be able to open the engine hatches, which could not be opened with the enlarged turret. And because the turret was larger AND moved forward, they also moved the radio operators hatch forward to allow that hatch to be opened. That put the radio operators hatch even with the drivers hatch on the hull top, something not on other marks of the Pz IV. They also used late "J" hulls for the production run which gave the changes of 3 return rollers per side, and the simplified exhaust on the back of the vehicle. The only difficulty I had was in finding any photos of an Ostwind with the late exhaust and three return wheels. But I don't doubt that with the state the Germans were in in late 44 and 45 that there were at least a few production vehicles that were put out with a mix of the 4 return rollers and earlier large single muffler on the back. But I would lean more towards most of them being the afformentioned setup of 3 return rollers and simplified twin exhaust stacks.
This leads to the biggest mistake I seem to find in the kit. Which is that Dragon gives us a beautifully reproduced production turret, but they did not do anything about moving the radio operators hatch forward. And if you know about it, it is very obvious. But with the turret they give you, you can't make an accurate pre-production vehicle. So you are left with the choice of modelling either an inaccurate pre-production vehicle, or an inaccurate production vehicle
The instructions are what I consider typical Dragon. That is detailed and direct, if not a bit busy. And occasionally confusing. This starts with the sprue identifying method of having some sprue letters repeated due to their using sprues from several diffrent kits. So be careful to note that some are regular, or black letter sprues. And some, that are repeat letters, are blue letter sprues. Also there are a few places in the instructions that get a bit busy. But over all it's not that bad. And there are a few places where Dragon gives you diffrent options for which pieces to use. But some of these they give you absolutley nothing to go on as to what option is for what version of vehicle you are building.
One other thing to note is that the interior is very spartan or basic. Having almost no detail at all. Other than the gun, and the gun support braces, there is nothing else in the turret. And inside the hull only has the floor, which I'm not sure about but would think it should have some type of anti skid texture to it. But again, it's one of those things I'm not really certain about.

a very basic engine firewall.

and a hull support between the fighting compartment and the driver/radio operator area. I see this as both a good and bad situation. But I certainly see the point that Dragon had in doing this. That is that there is sooooo little reference to what the inside of the thing looked like that they obviously decided that it was better to give no detail rather than give us some detail that is wrong.
So now, lets get to what we all really came here for. The pictures of all those pieces.
This is what I find so nice about Dragon kits, all those blue shaded "not for use" parts !

And five choices of paint schemes.

The somewhat limited decal sheet

The Dragon magic tracks. These are correctly right and left handed, but I'm not sure if they are accurate, as I believe that they should not have the cleats on the track face. But I could absolutely be wrong about that.
* Having thought about the tracks included in the kit I have come to a diffrent conclusion. That is that the tracks provided ARE correct for the time frame of Ostwind production, and it would be totally incorrect to say they were wrong without several photos proving otherwise. Because these tracks were in widespread use at the time of production. *


A small sheet of photo-etch fun.

And another one with a very nice looking spent shell cage mesh sheet.

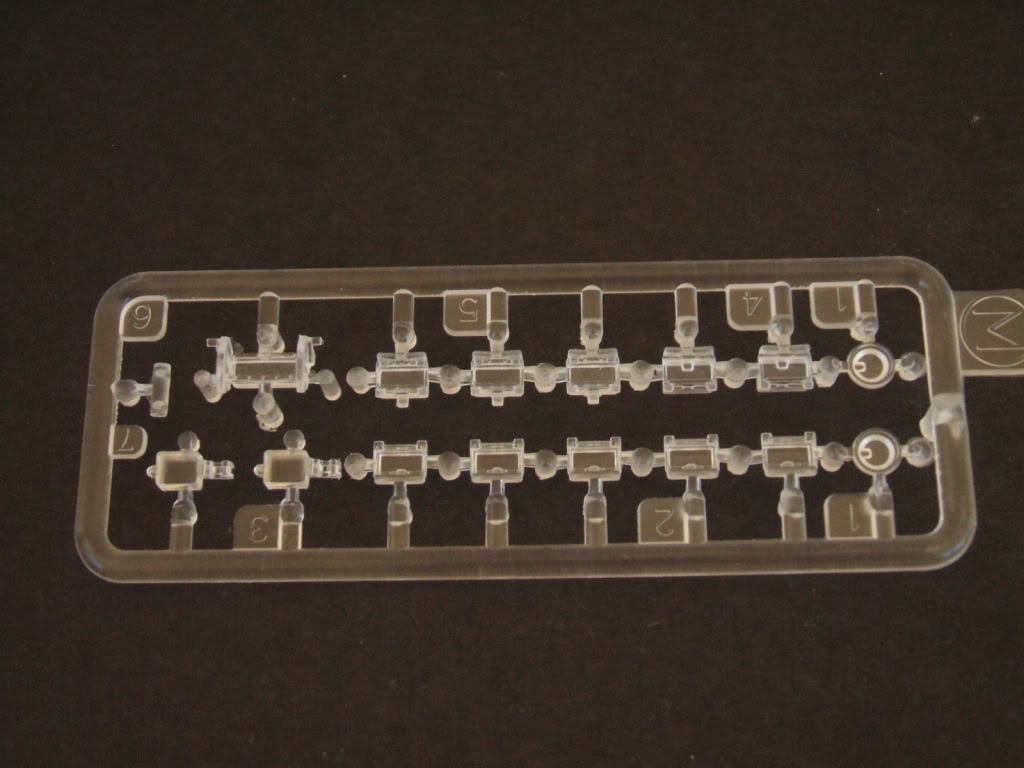
Clear parts for the gun sight.

The other clear parts.
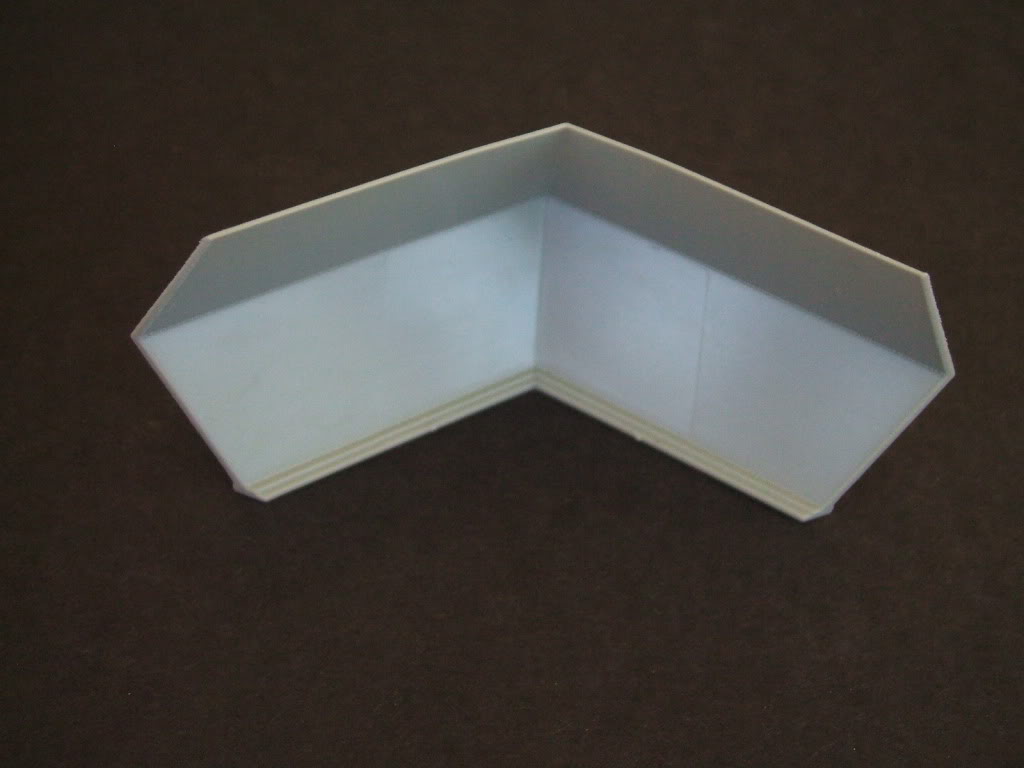
The turret in two pieces, showing the correct and very nicely done chin armor. And if you can't see it in the photos, the walls are beautifully thin with very nice weld beads.


I'm not really enough of a Pz IV expert to know if there are any diffrences in a late "J" hull, or any other, but this looks nice to me, and I think


And the hull top with the misplaced radio operators hatch.

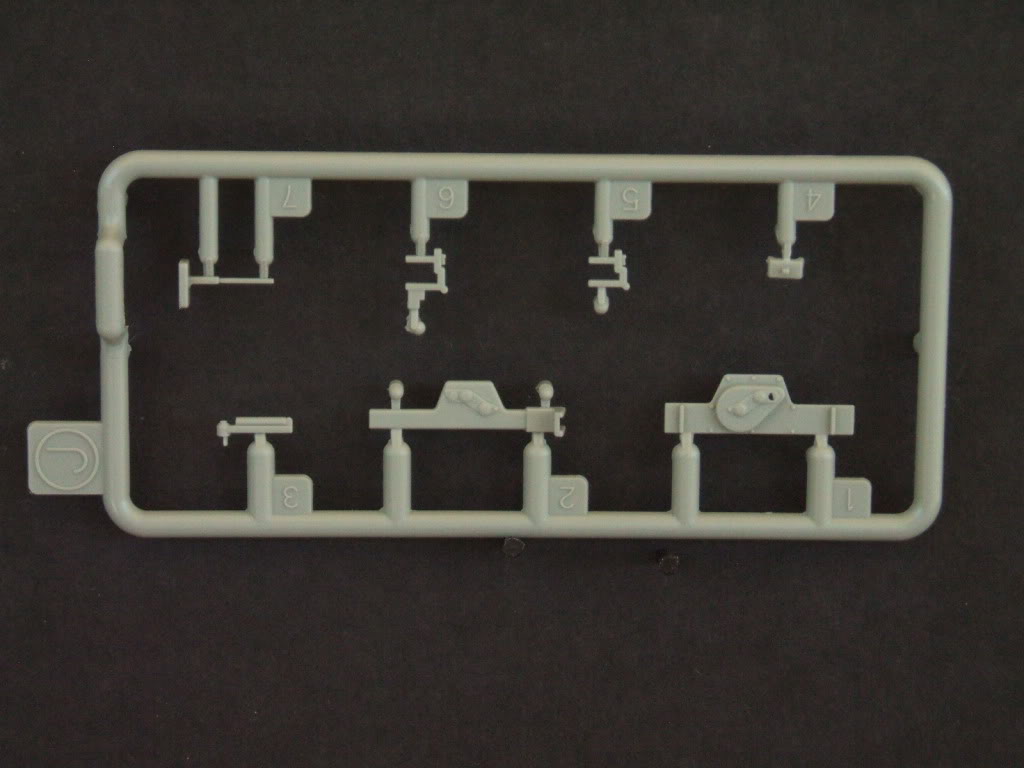
The by now standard lovely little hull machine gun construction.
And an equally lovely little jack.
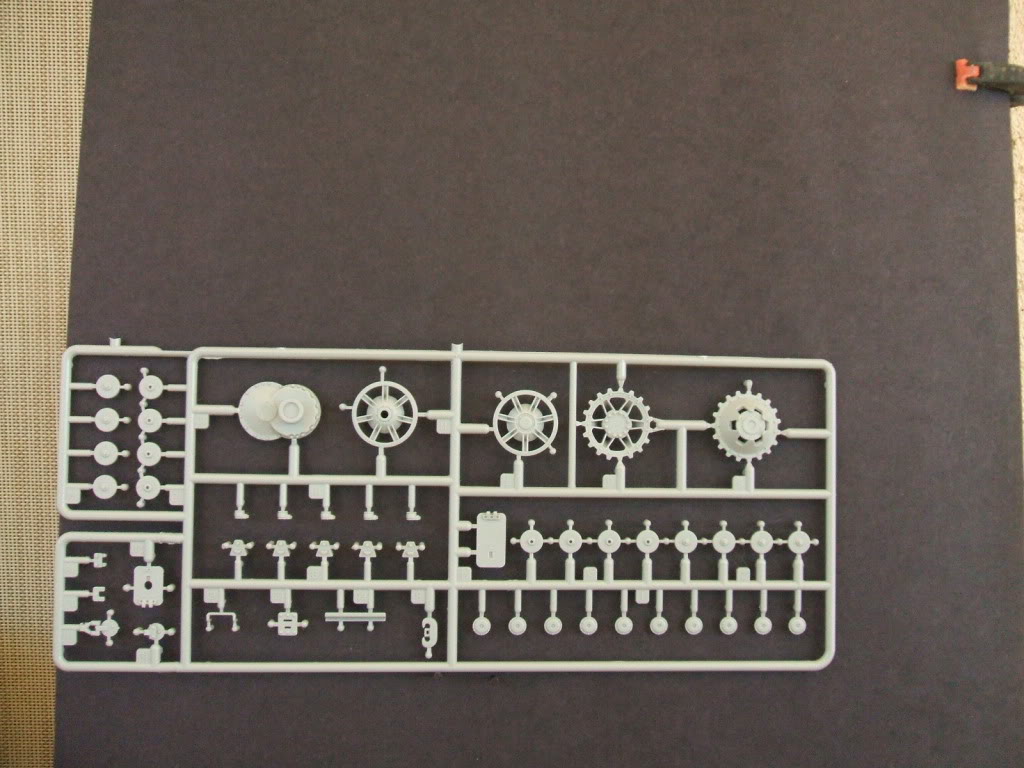
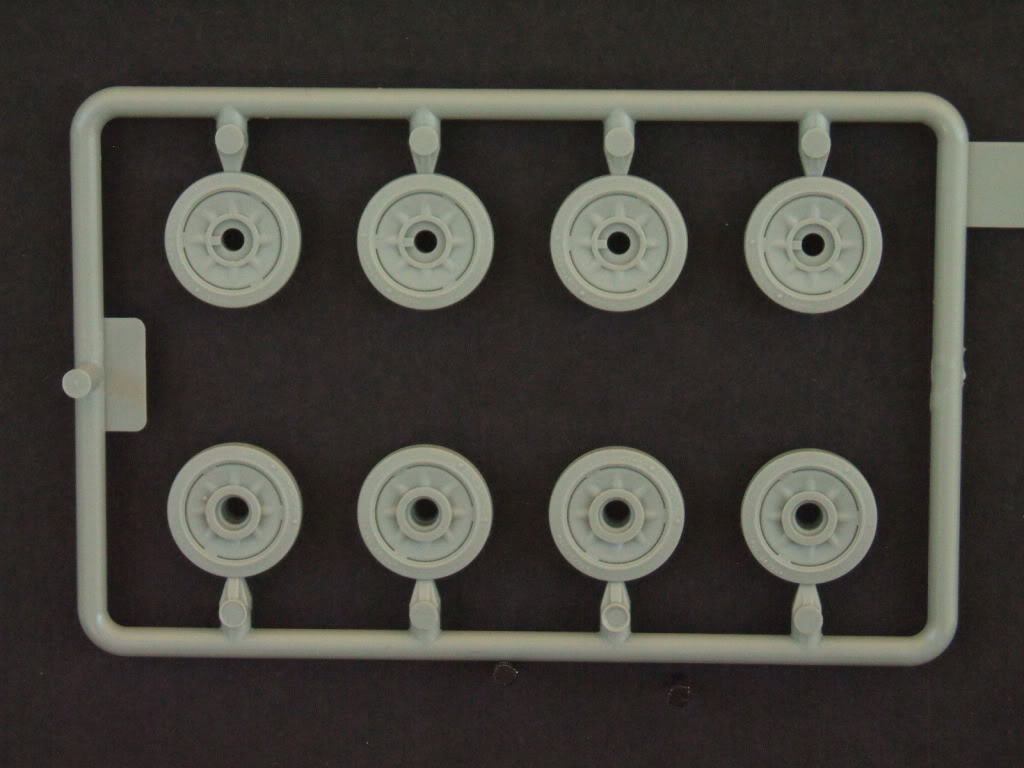
Sprue "A" which they break into two seperate sprues in the box, that compromises the majority of the running gear and road wheels.

Sprue "B" turret and hull fittings.

Sprue "Blue B". Theres that tricky black/blue sprue identifier thingy we get from Dragon using sprues from several diffrent kits.

Sprue "C" which we use all of two pieces from with all the rest going to the spares box.

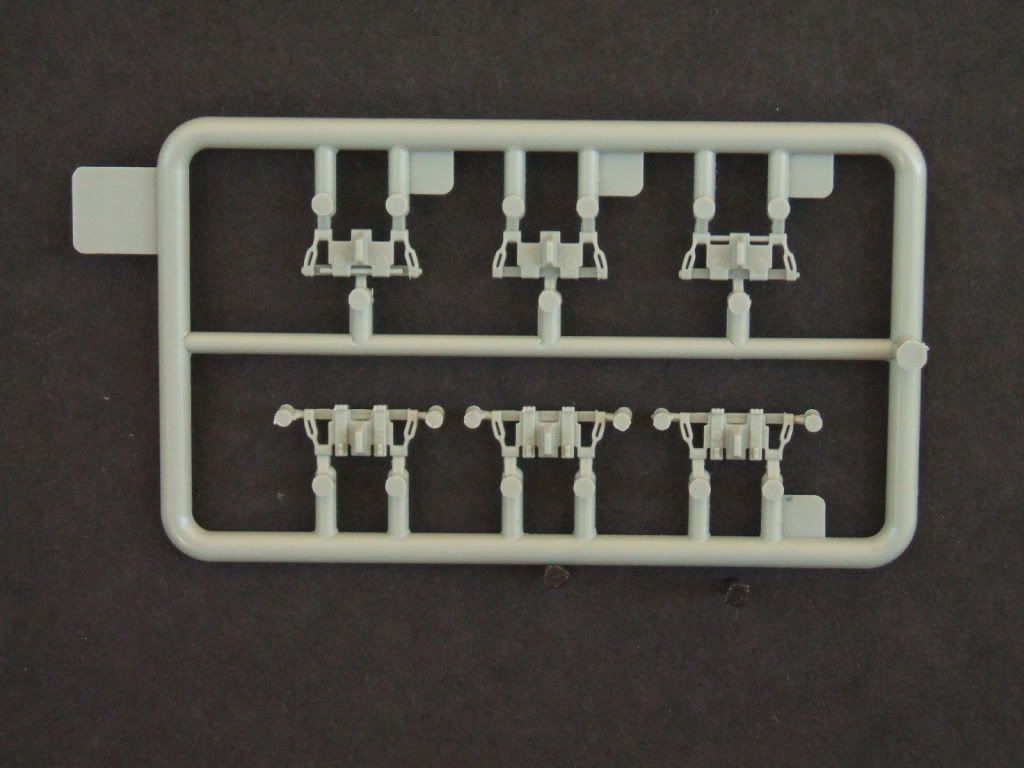
Sprue "D" more running gear stuff.

Sprue "Blue D"

Sprue "E"

Sprue "F" a very nice set of fenders with the usual detail on both sides, top and bottom.

Sprue "G" the mysterious unlisted sprue that we use four pieces from.

Sprue "H"

Sprue "J" no sprue "I" so we get to skip straight to this nice hull machine gun assembly.
Sprue "Blue J" no, it's not a bird. It's just plastic pieces
Sprue "K"

Sprue "L"
Sprue "Blue M" even though there is no regular "M" sprue.
Sprue "N"

Sprue "P"

Sprue "Q"
Sprue "Blue Q" on the parts list it is listed as "Blue Q" but in the instructions they give the parts as just plain black "Q".


And now just a couple detail shots I took to fill up the cameras card
The gun is a very nice looking piece. And that muzzle is so nice I really think you wouldn't really need any aftermarket replacement, as all the little holes are open and the end is very nice and thin. Just beautiful.


And the exhausts they give you are both nice, and correct having only three little support thingys on the inside of the heat shield.

Nice and thin turret walls, and excellent weld bead detail.
Fenders with excellent detail on the bottom as well as the top. In case you want to do a diorama with an upside down Ostwind I guess

And some nice little 37 mm ammo clips.


And that, ladies and gentlemen, is what you get. All packed in one very tight fitting box of fun. Not having put any pieces together, I can not as yet say anything about the fit or ease of assembly, but that will be changed shortly as I intend to get to building the beast within the next week. But from what I see in the box, it looks like it will be a very nice build with the exception of feeling that I have to do some major surgery on the hull to move the radio operators hatch. Who knows, this is possibly something that Dragon will correct in the future for us. But probably not. I will leave it up to you all to decide if this kit is something to recomend or not considering that one (at least in my view) major flaw in an otherwise beautiful kit of the Ostwind. I know I will certainly enjoy it though, because I have the skills and experience to do the job of moving that hatch without to much difficulty
And a great big Thank You to
Gary
Last edited by G Cooper on Mon Sep 03, 2012 10:46 pm; edited 1 time in total

G Cooper- naughty corner commissar

- Posts : 3027
Join date : 2009-01-16
Age : 112 Location : Yuma, Az.
Re: Dragon Flakpanzer IV Ostwind in box review.
![]() S P Hammerton Sun Sep 02, 2012 12:45 pm
S P Hammerton Sun Sep 02, 2012 12:45 pm
Hi Gary
Nice review, and some stunning moulding on that Flak.
Any thoughts on how you're going to shift that hatch?
Simon
Nice review, and some stunning moulding on that Flak.
Any thoughts on how you're going to shift that hatch?
Simon

S P Hammerton- Field Marshall

- Posts : 1596
Join date : 2009-02-14
Age : 62 Location : St Just, West Cornwall -

Re: Dragon Flakpanzer IV Ostwind in box review.
![]() G Cooper Sun Sep 02, 2012 7:25 pm
G Cooper Sun Sep 02, 2012 7:25 pm
Thanks for the good words Simon. And as far as the radio operators hatch, That should not be to difficult. Just a bit frightening to start. It will be a quick attack with the razor saw from the front of the hull through the hatch area. Then move it forward until it's even with the drivers hatch. Then shim the hole in the hull and putty/sand. I will probably have to lose the splash guard around the hatch and scratch build an easy replacement in either brass or plastic. Scary to start, but once you get going, not to difficult really.
Gary
G Cooper- naughty corner commissar
- Posts : 3027
Join date : 2009-01-16
Age : 112 Location : Yuma, Az.
Re: Dragon Flakpanzer IV Ostwind in box review.
![]() S P Hammerton Sun Sep 02, 2012 8:09 pm
S P Hammerton Sun Sep 02, 2012 8:09 pm
Hi Gary
That was my thinking on it.
It looks an excellent kit, it's such a shame that DML's research doesn't match the sublime quality of their plastic.
Simon
That was my thinking on it.
It looks an excellent kit, it's such a shame that DML's research doesn't match the sublime quality of their plastic.
Simon
S P Hammerton- Field Marshall
- Posts : 1596
Join date : 2009-02-14
Age : 62 Location : St Just, West Cornwall -
Re: Dragon Flakpanzer IV Ostwind in box review.
![]() ShawnGehling Mon Sep 03, 2012 10:32 am
ShawnGehling Mon Sep 03, 2012 10:32 am
Gary,
Excellent review. Don't know that I'll be getting it? German AA is really cool and I used to do a lot of it, but not so much now.
Thanks for the lesson on how much is right and how little there is that is wrong with it.
Looks like you have your work cut out for you.
Shawn
Excellent review. Don't know that I'll be getting it? German AA is really cool and I used to do a lot of it, but not so much now.
Thanks for the lesson on how much is right and how little there is that is wrong with it.
Looks like you have your work cut out for you.
Shawn

ShawnGehling- Platoon Commander

- Posts : 1037
Join date : 2009-05-11
Age : 63 Location : Langley, Washington USA
Re: Dragon Flakpanzer IV Ostwind in box review.
![]() John T Mon Sep 03, 2012 1:14 pm
John T Mon Sep 03, 2012 1:14 pm
Great in box review, Gary! Such marvelous detail in this kit, it's puzzling to see so much attention to detail while overlooking a major flaw. I'm looking forward to see it go together in your capable hands!
Cheers
JT
Cheers
JT
John T- Platoon Commander
- Posts : 2767
Join date : 2010-11-09
Age : 59 Location : Townsville, Australia
Re: Dragon Flakpanzer IV Ostwind in box review.
![]() ShawnGehling Mon Sep 03, 2012 6:54 pm
ShawnGehling Mon Sep 03, 2012 6:54 pm
John T wrote:Great in box review, Gary! Such marvelous detail in this kit, it's puzzling to see so much attention to detail while overlooking a major flaw. I'm looking forward to see it go together in your capable hands!
Cheers
JT
Gary and John,
Is this because they are using the chassis from another tank in the Panzer IV series that did have the hatches that way?

Shawn
ShawnGehling- Platoon Commander
- Posts : 1037
Join date : 2009-05-11
Age : 63 Location : Langley, Washington USA
Re: Dragon Flakpanzer IV Ostwind in box review.
![]() G Cooper Mon Sep 03, 2012 10:39 pm
G Cooper Mon Sep 03, 2012 10:39 pm
ShawnGehling wrote:Gary and John,
Is this because they are using the chassis from another tank in the Panzer IV series that did have the hatches that way?
Shawn
Yes Shawn. That is exactly what it is. The very very early Pz IV's (the "B" and "C" model I believe) had the radio operators hatch even with the drivers hatch. But on the "E" model they moved it back to clear the cut out they put in the glasis plate. And then they just never moved it back on any of the subsequent marks. Except at the very end of the war on this one vehicle for the stated reason of clearing the turret. And dragon apparently has decided that it would be to expensive to cut a mold for a hull top that they could use on just one kit
Gary
G Cooper- naughty corner commissar
- Posts : 3027
Join date : 2009-01-16
Age : 112 Location : Yuma, Az.
Ostwind Hatch
![]() Dean Allison Tue Sep 18, 2012 7:26 pm
Dean Allison Tue Sep 18, 2012 7:26 pm
I’m posting this just to help out in case any of you are thinking or planning to cut up your new Dragon Ostwind kit.
The review as printed is correct using the reference material stated (Nuts and Bolts), unfortunately for the review this reference is now out of date, including the recently republished and updated version No25.
The most up to date and accurate reference on the Ostwind is the new Panzer Tracts title No12-1, as most people will know Panzer Tracts only publish information which can be proven from original records.
The Ostwind’s protracted development process did originally propose the radio operators hatch be moved forward, this was to ensure escape by the operator if the turret was turned directly over his position when disabled.
Demand for the Ostwind became so great due to the deteriorating war front this modification was dropped and all production Ostwind were manufactured on unmodified new and rebuilt Panzer IV so, as boxed the Dragon kit is accurate for a production Ostwind.
It is estimated 7 were completed on new Panzer IV J by Stahlindustrie (this would be the Dragon kit with three return rollers) and a further 22 on rebuilt Panzer IV by Ostbau, Sagan although to which units all these vehicles were distributed is as yet unknown.
There are three known photos of production Ostwind, one shows a very late Panzer IV J and the other two show a rebuilt Panzer IV G, all other photos available show the prototype Ostwind which was built on a Panzer IV G and no it is not the same vehicle as stated above.
I hope this helps
Dean
PS Thanks for the review, it is otherwise very good.
Dean Allison- Be nice to me I am new

- Posts : 1
Join date : 2012-09-17 Location : North East, England, UK
Re: Dragon Flakpanzer IV Ostwind in box review.
![]() tigertanktoo Tue Jun 03, 2014 11:56 pm
tigertanktoo Tue Jun 03, 2014 11:56 pm
Hey Coop, have you finished this build? I'd very much like to see the outcome of the finished vehicle.
tigertanktoo- seasoned veteran

- Posts : 329
Join date : 2009-04-04
Age : 66 Location : Newport News, Virginia -
Re: Dragon Flakpanzer IV Ostwind in box review.
![]() G Cooper Wed Jun 04, 2014 1:49 am
G Cooper Wed Jun 04, 2014 1:49 am
tigertanktoo wrote:Hey Coop, have you finished this build? I'd very much like to see the outcome of the finished vehicle.
I have been very slowly putting in little bits here and there on this, as I suffer from the dreaded "Gotta start a new kit disease"
.Gary
G Cooper- naughty corner commissar
- Posts : 3027
Join date : 2009-01-16
Age : 112 Location : Yuma, Az.
Re: Dragon Flakpanzer IV Ostwind in box review.
![]() tigertanktoo Wed Jun 04, 2014 3:07 am
tigertanktoo Wed Jun 04, 2014 3:07 am
I'll be here waiting then. Holler at me when you finish. Pace yourself buddy. 
tigertanktoo- seasoned veteran
- Posts : 329
Join date : 2009-04-04
Age : 66 Location : Newport News, Virginia -
» Review: DML Panzerjager I Kit no. 6230
» Bob's build A Dragon Flakpanzer 38(t) September 14th, All Finished!!
» New release info for Dragon at Nuremburg
» Trumpeter News - Ostwind and Bergepanzer IV
» New 1/35 from Roden
» Bob's build A Dragon Flakpanzer 38(t) September 14th, All Finished!!
» New release info for Dragon at Nuremburg
» Trumpeter News - Ostwind and Bergepanzer IV
» New 1/35 from Roden
Page 1 of 1
Permissions in this forum:
You cannot reply to topics in this forum|
|
|