The really nice Mini Art AEC Mk II armored car
4 posters
Page 1 of 1
 The really nice Mini Art AEC Mk II armored car
I am going to start this one tonight, and will finish it as a North African desert warrior. I will decide later if it will be British, or Austalian. I don't know if the Aussies used these or not, but I am guessing that they did. I only need to find what would be the correct paint and markings. Other wise, it will be British.
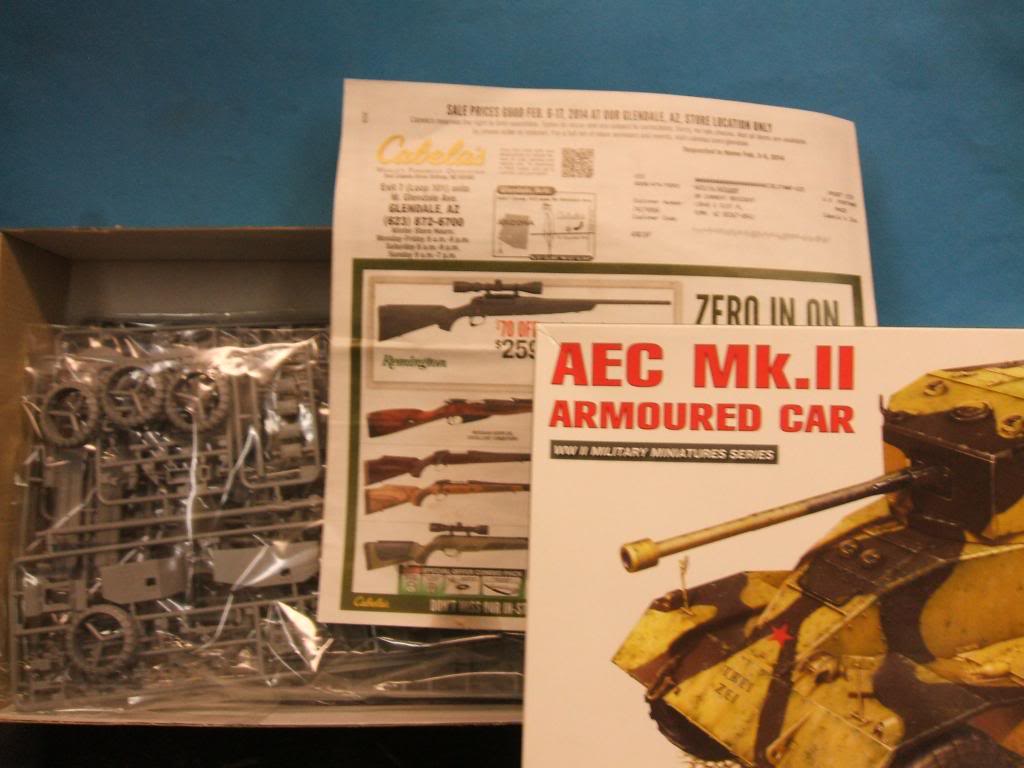
Gary

Gary
Last edited by G Cooper on Thu Feb 20, 2014 6:15 am; edited 1 time in total (Reason for editing : I forgot who I was for a minute there :-))

G Cooper- naughty corner commissar

- Posts : 3027
Join date : 2009-01-16
Age : 112 Location : Yuma, Az.
 Re: The really nice Mini Art AEC Mk II armored car
Well here we go! With German tanks, it is the about 50 bazillion road wheels that slow me down  . But this only has four so I was thinking it would take off like a rocket
  . But in the very first step with this kit you get to cut out 44 teeny tiny itty bitty little ammo containers to go into the ammo bins. Then you get to measure off 2mm, and cut the rest off of 44 teeny tiny itty bitty little ammo containiers
  . Then you get to trim the two sprue stubs off of 44 now even teenyer tinyer ittyer bittyer little ammo containers to put in the ammo bins for the turret floor
  .
.
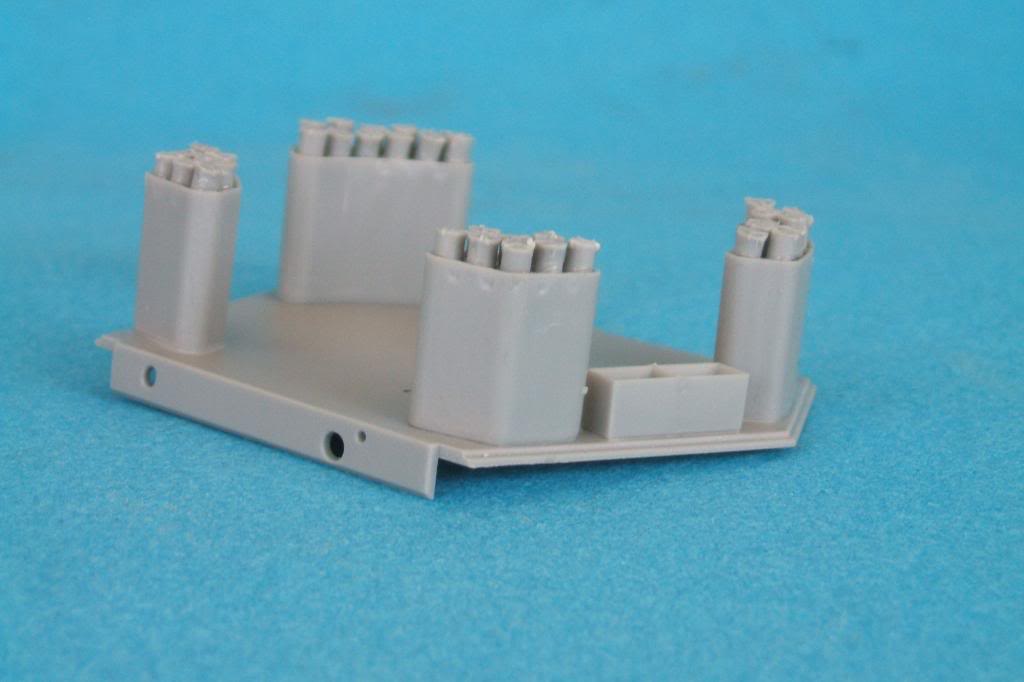
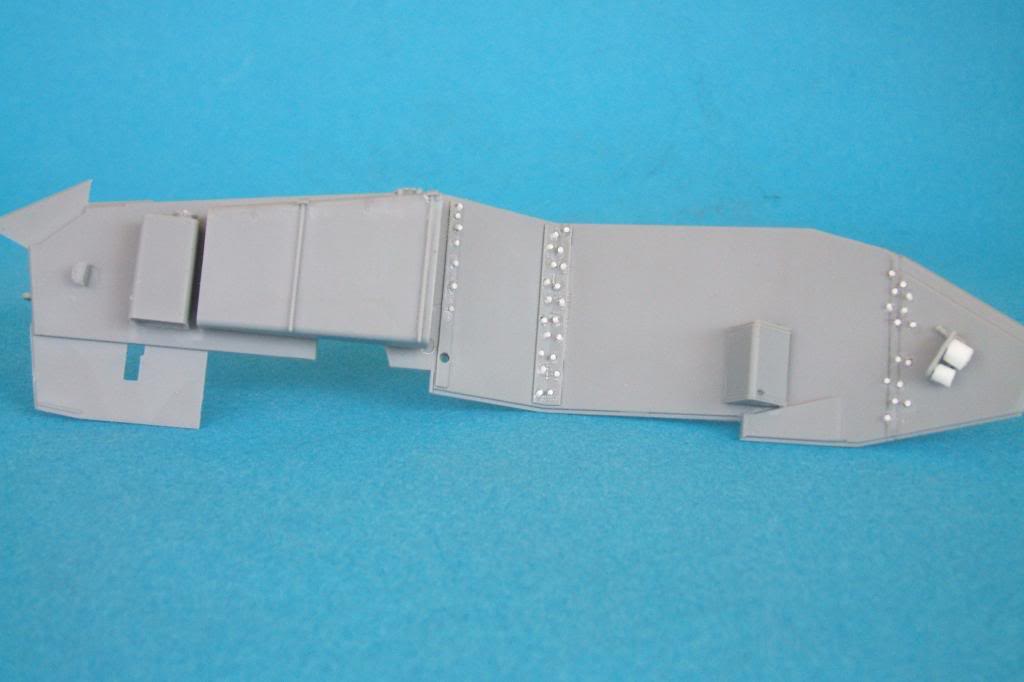
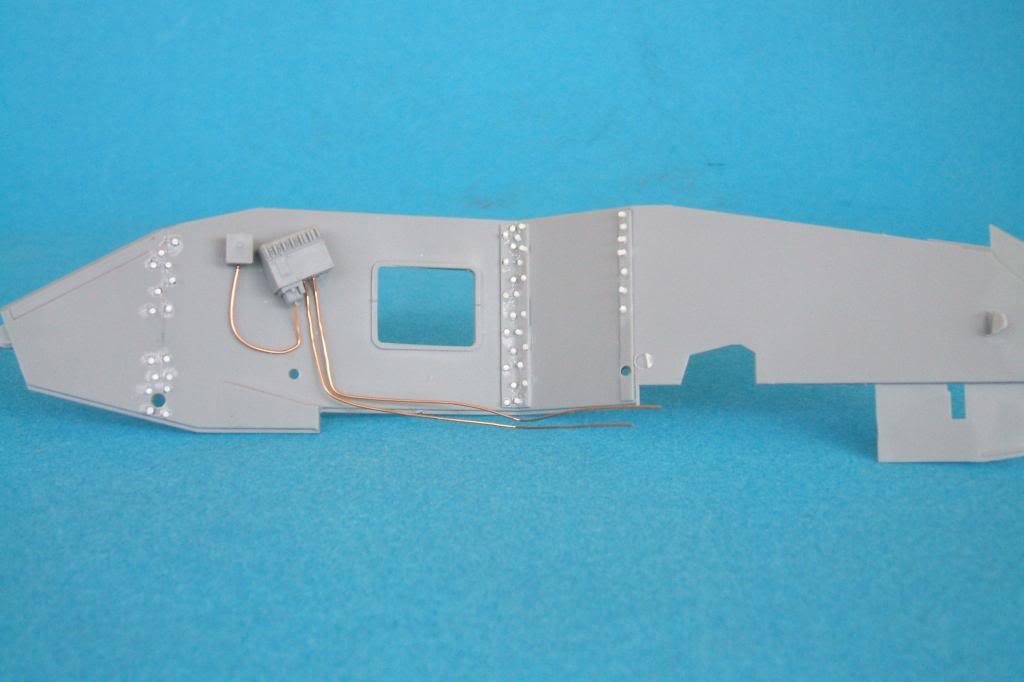
But that took all of my first nights work, and about 45 minutes of the next night. But it is over now, so I have been able to get goin with the rest. Next was the side walls of the hull, and begining of the engine compartment stuff with I think the fuel and water tanks. I also have started putting on the rivets on the inside, which for some reason Mini Art did not put on. I will sand them all down to an even size after the glue hardens for a day or two. Also began some of the wiring and cableing for the electrical stuff.
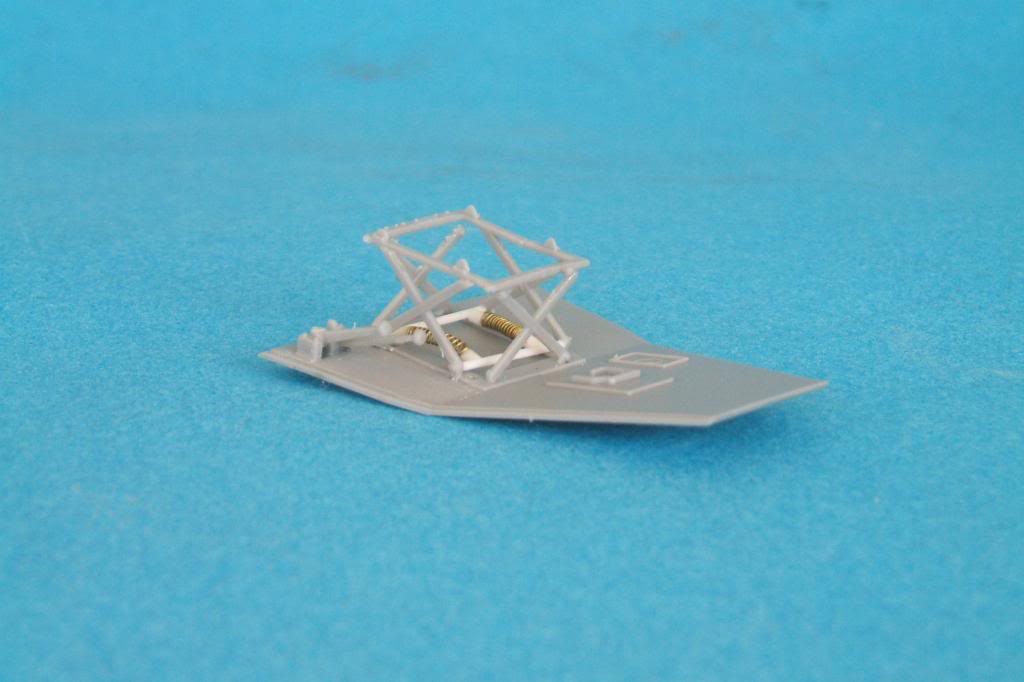
And the begining of the drivers area. Boy oh boy let me tell you getting all those little crisscross pieces off without breaking them in about 87 pieces is hard. I ended up using a razor saw to saw them off after breaking the fist two parts in three pieces . And I had to replace the bottom bit with the springs because it broke into 4 pieces. I figured it would be easier to make a new one than to fix the broken one
  . I will fix the tiny bits of fit issues before I put the seat bottom and back on and then it will be on to the steering mechanism and then starting on the outside frame
  .
.
Well I have got to say that this looks like it is going to be an absolutely awesome kit. the parts count is pretty high, which means that there is going to be a lot of very good detail. But I must caution anyone that is a beginner, that this is probably not the kit for you. I would suggest you get a few kits behind you before you try one of these, as it has a few challenging moments already that could frustrate a beginner. But I will do the best I can with it and see if I have advanced to medium skills yet .
.
Gary

But that took all of my first nights work, and about 45 minutes of the next night. But it is over now, so I have been able to get goin with the rest. Next was the side walls of the hull, and begining of the engine compartment stuff with I think the fuel and water tanks. I also have started putting on the rivets on the inside, which for some reason Mini Art did not put on. I will sand them all down to an even size after the glue hardens for a day or two. Also began some of the wiring and cableing for the electrical stuff.


And the begining of the drivers area. Boy oh boy let me tell you getting all those little crisscross pieces off without breaking them in about 87 pieces is hard. I ended up using a razor saw to saw them off after breaking the fist two parts in three pieces
 . And I had to replace the bottom bit with the springs because it broke into 4 pieces. I figured it would be easier to make a new one than to fix the broken one
Well I have got to say that this looks like it is going to be an absolutely awesome kit. the parts count is pretty high, which means that there is going to be a lot of very good detail. But I must caution anyone that is a beginner, that this is probably not the kit for you. I would suggest you get a few kits behind you before you try one of these, as it has a few challenging moments already that could frustrate a beginner. But I will do the best I can with it and see if I have advanced to medium skills yet
 .
.Gary

G Cooper- naughty corner commissar

- Posts : 3027
Join date : 2009-01-16
Age : 112 Location : Yuma, Az.
 Re: The really nice Mini Art AEC Mk II armored car
Going well Gary, Miniart kits are good, but seriously fiddly.
Simon
Simon
 Re: The really nice Mini Art AEC Mk II armored car
Really nice for sure! But I feel your pain about getting fiddley parts off, and cleaned up. The tortoise had a few, like those cables/ conduits running to the smoke charge launcher thingies. I broke the first one trying to liberate it from the sprue! After that I started cutting away at the sprue some distance from the part, with my sprue cutters. When they were separate I kept cutting the bits of sprue away until the part was separated.
Nice work so far mate! Cheers
JT
Nice work so far mate! Cheers
JT
John T- Platoon Commander

- Posts : 2767
Join date : 2010-11-09
Age : 60 Location : Townsville, Australia
 Re: The really nice Mini Art AEC Mk II armored car
Looking really great so far Gary Pyrogoatherdinglumberjack  , I like the new springybits you made .
Jenny
Jenny
 Re: The really nice Mini Art AEC Mk II armored car
A little more progress on the insides. I just couldn't help myself, and did a real quick replacement of the molded on fuel tank retainer strap thingys.
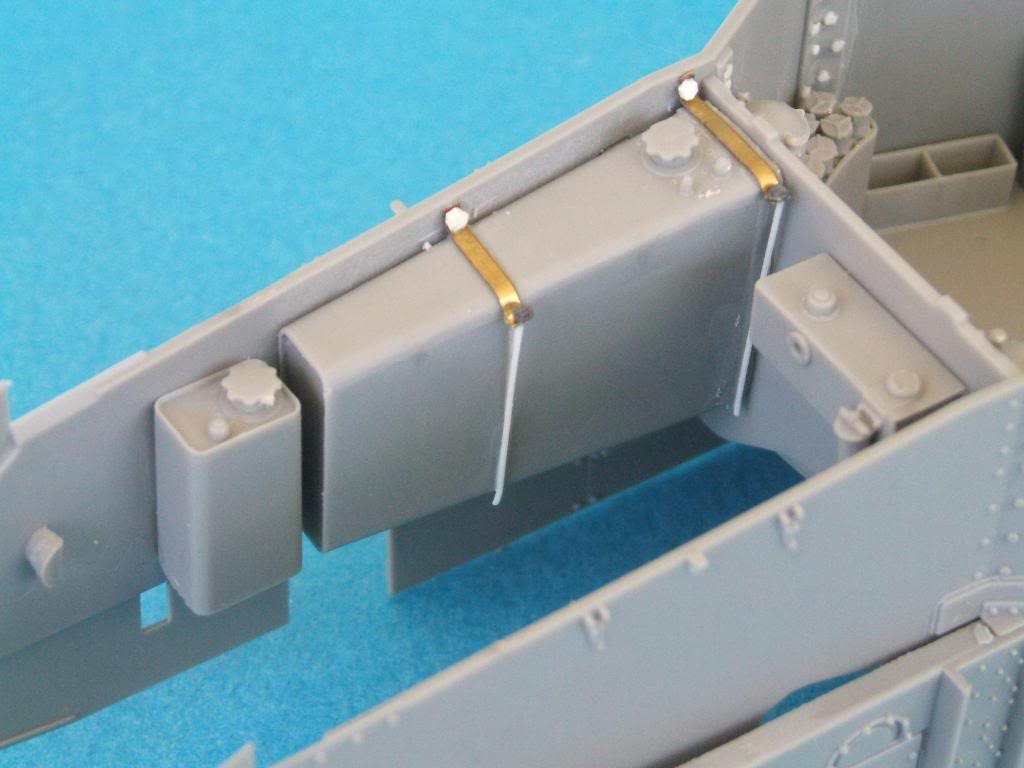
Finished up the internal wiring on both sides. Got the guages wired for the driver.
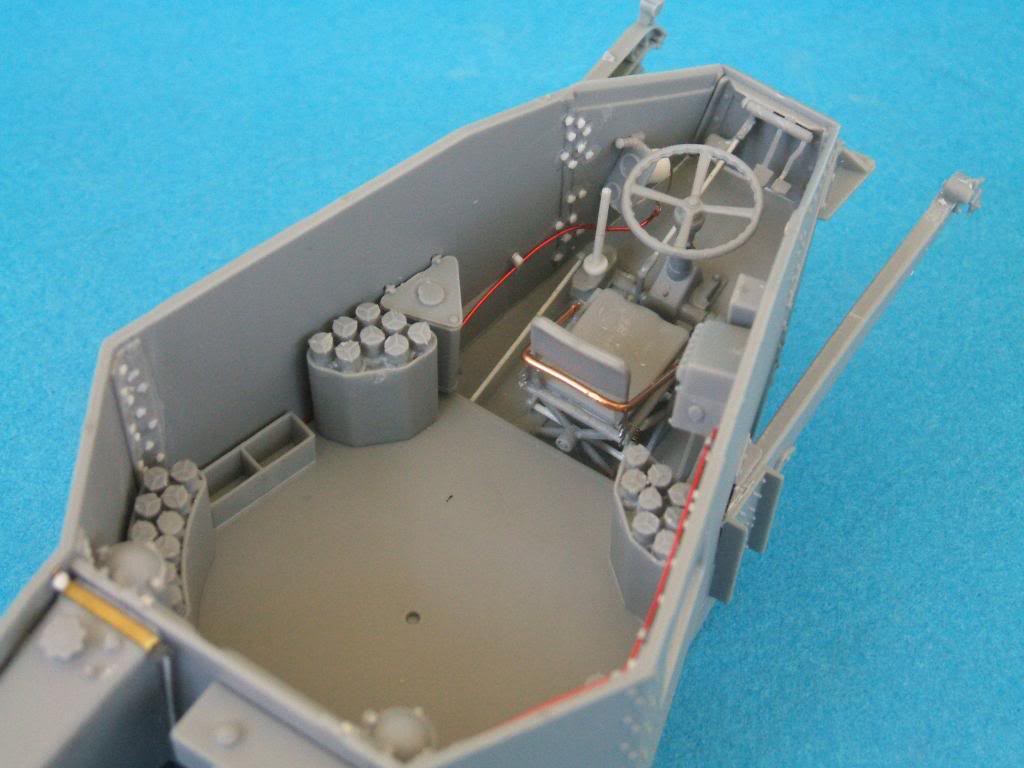
I need to get a hex nut on those two lower wireing harness holder straps. Also having looked at photos of the real thing, I need to take some of those studs off from around the escape hatch.
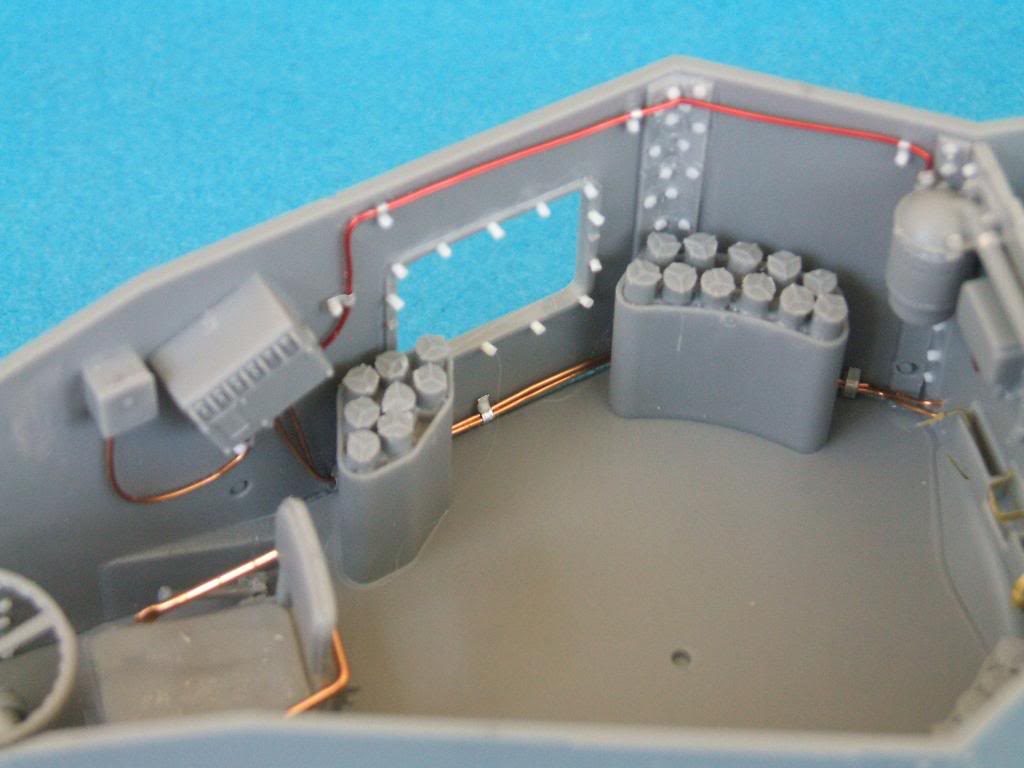
Also I decided that it is easier to just put in styrene rod rather than try to get all those linkages off and cleaned up without breaking them in several pieces. And lastly I still need to put a knob on that gear shift lever.
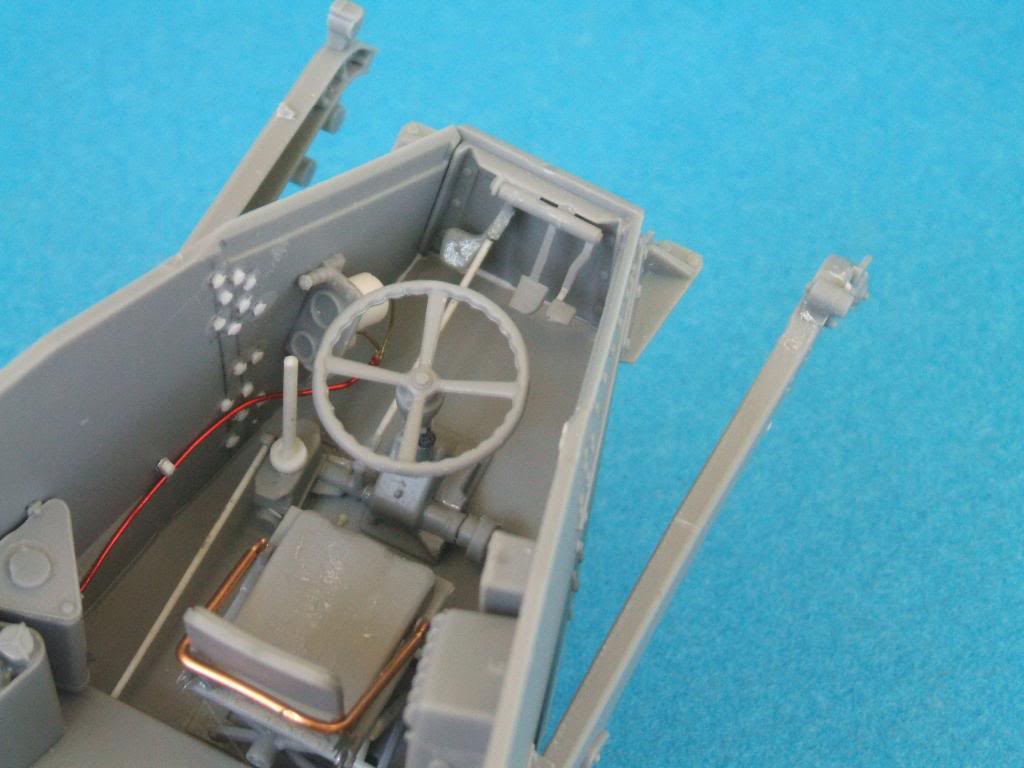
I need to figure out what to put in those bins with the photo etch straps.
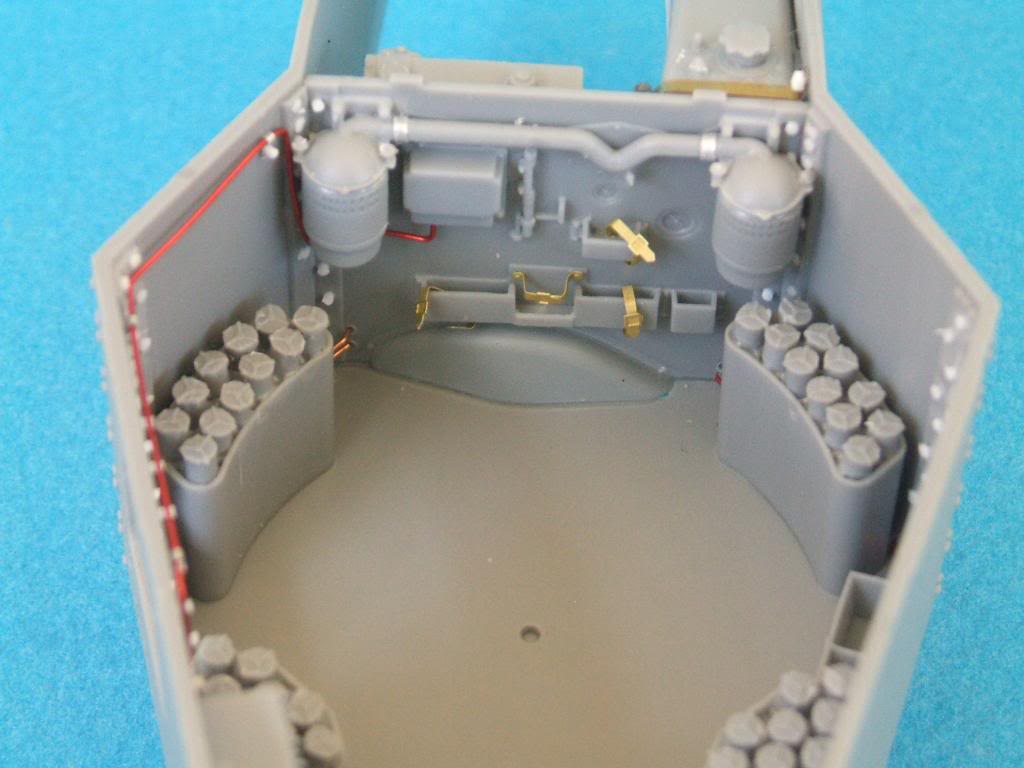
And the more I look at it, the more I think I want to replace that copper drivers seat back support to something a bit smaller in diamater.

And this is just one more pic I took for some reason ? ? ?

It is almost time to start on the engine and little bits of the exterior. That engine is going to take a lot of extra wiring and connections etc.
Gary

Finished up the internal wiring on both sides. Got the guages wired for the driver.

I need to get a hex nut on those two lower wireing harness holder straps. Also having looked at photos of the real thing, I need to take some of those studs off from around the escape hatch.

Also I decided that it is easier to just put in styrene rod rather than try to get all those linkages off and cleaned up without breaking them in several pieces. And lastly I still need to put a knob on that gear shift lever.

I need to figure out what to put in those bins with the photo etch straps.

And the more I look at it, the more I think I want to replace that copper drivers seat back support to something a bit smaller in diamater.

And this is just one more pic I took for some reason ? ? ?

It is almost time to start on the engine and little bits of the exterior. That engine is going to take a lot of extra wiring and connections etc.
Gary

G Cooper- naughty corner commissar

- Posts : 3027
Join date : 2009-01-16
Age : 112 Location : Yuma, Az.
 Re: The really nice Mini Art AEC Mk II armored car
It is all looking most awesome , there certainly is a lot of interior detail and yet you found heaps more to add  . All the wiring and stuff looks most excellent
  .
.
Jenny
Jenny
 Re: The really nice Mini Art AEC Mk II armored car
Lovely work Gary.
It's that thing with modellers, we may not be able to see the stuff, but we like to know it's there .
.
It's that thing with modellers, we may not be able to see the stuff, but we like to know it's there
 Re: The really nice Mini Art AEC Mk II armored car
Thank you for the comments Simon and Jenny
I am still plugging along at this. And as Simon says, I will know it's there. And it would bug me endlessly if I knew it was on the real thing, and I didn't put it there
So this installment is mostly of the underneath bits, but some from inside still. And first up is the frame work that began to go on.
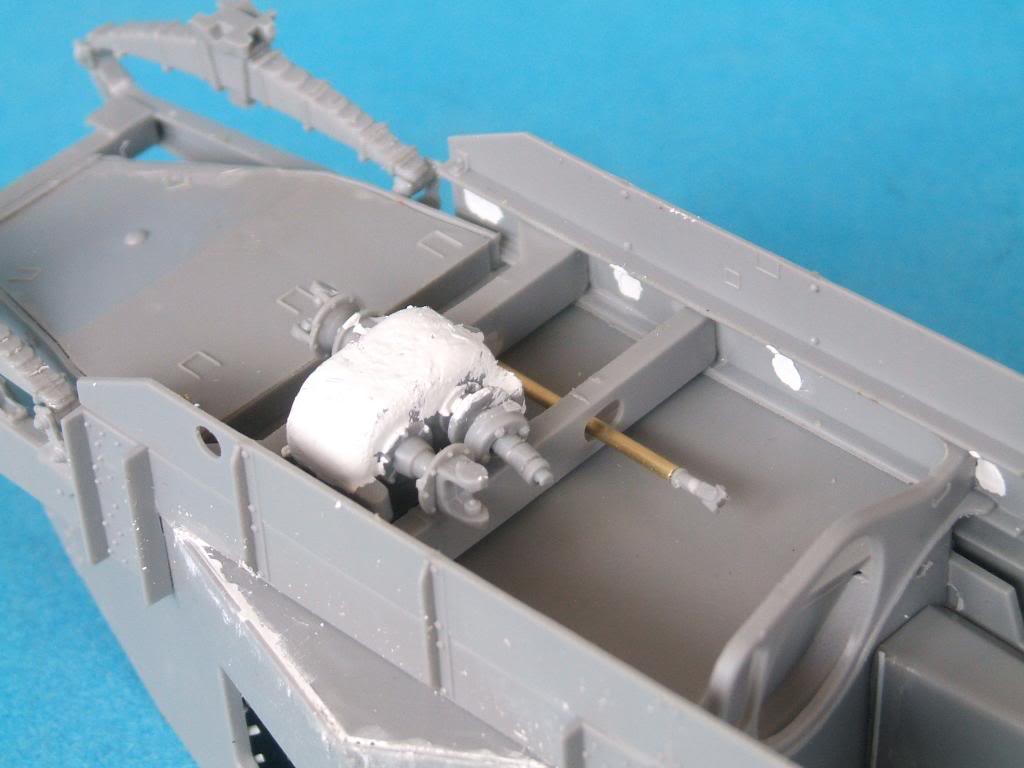
And some little parts of the rear suspension. I believe that is a big rubber bump stop with a return spring. Again I decided it would be easier to replace the spring rather than trying to remove and clean it up without breaking it. And I see that I missed one of the big knockouts on the inside main frame
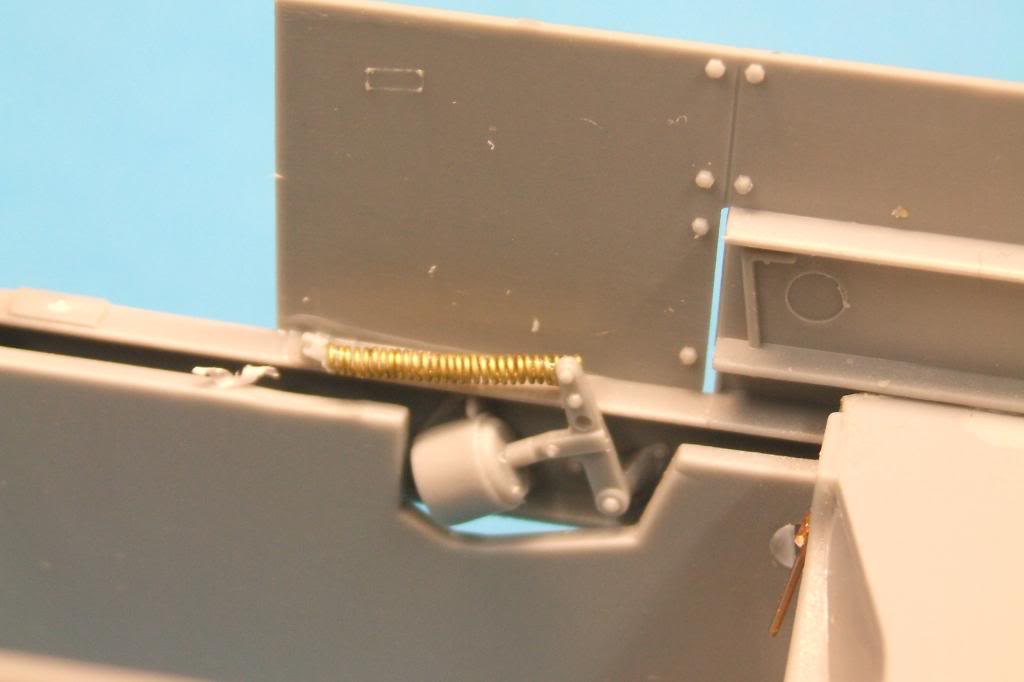
And the front cross frame and the almost workable leaf springs.

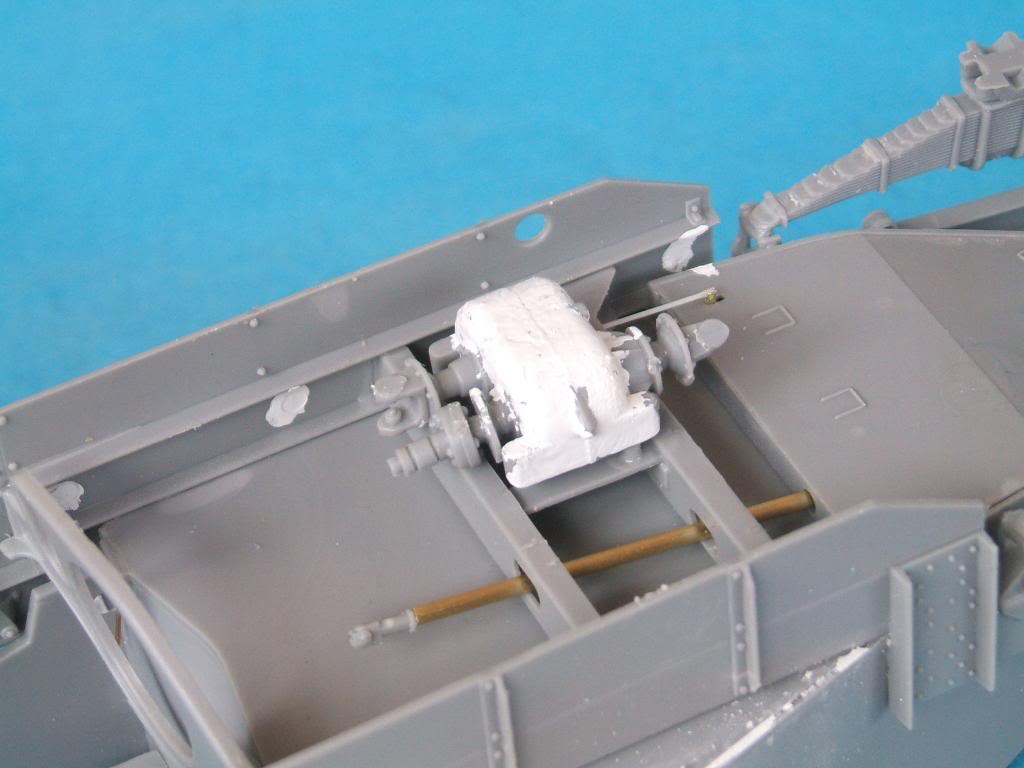
And another shot of the frame work with the transfer case, and some of the linkages from underneath that go inside. The white stuff is just typewriter correction fluid (white out). I think it works great for things like filling the knockout marks and also for this. which is just a cast surface texture. Kind of like a cheap mans Mr Surfacer
 .
.
And here is the now famous knob
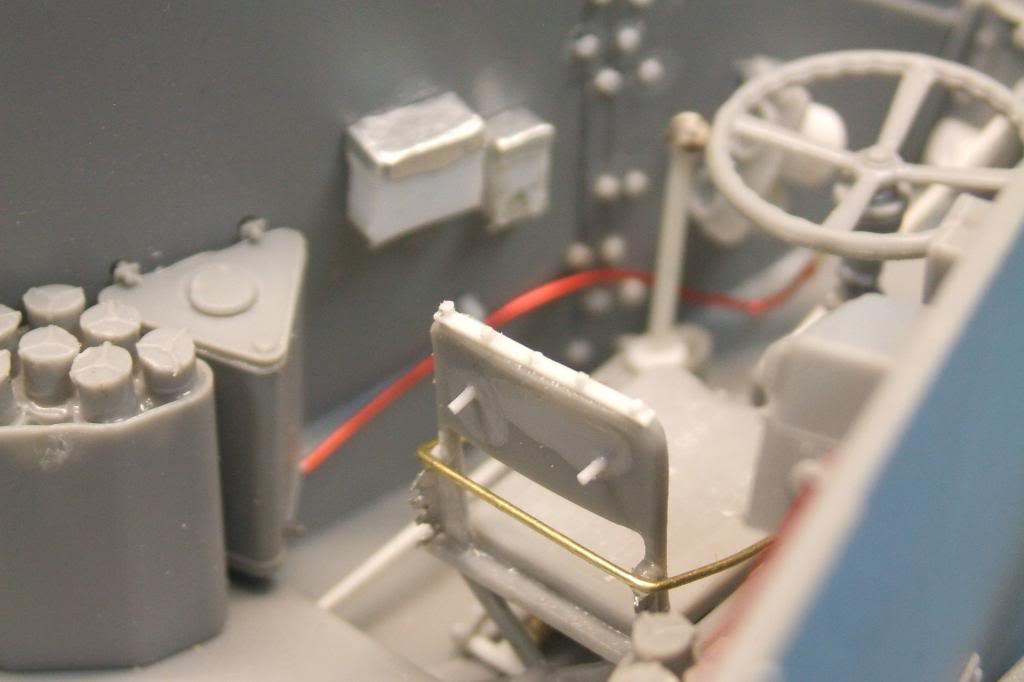
 and the linkages to the gear shift box, and also the two tabs on the back, and the strip with the bolts across the top of the drivers seat, along with what ever those two boxes are for on the side wall.
Another not so totally in focus view of the same area.
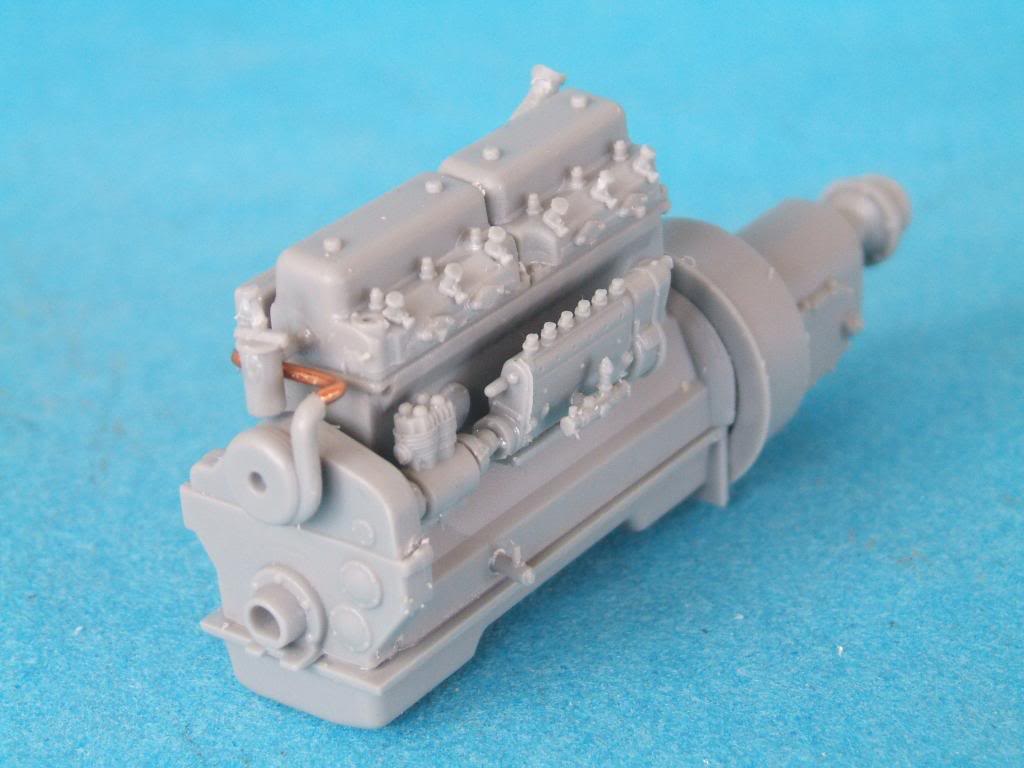
And then the truly amazing little diesel engine. I believe that this is 26 pieces just for this, and it is not finished yet! I am going to wire and hose it all up before I put the exhaust manifold on, as it would be almost impossible to get to those fuel injectors with it in place.
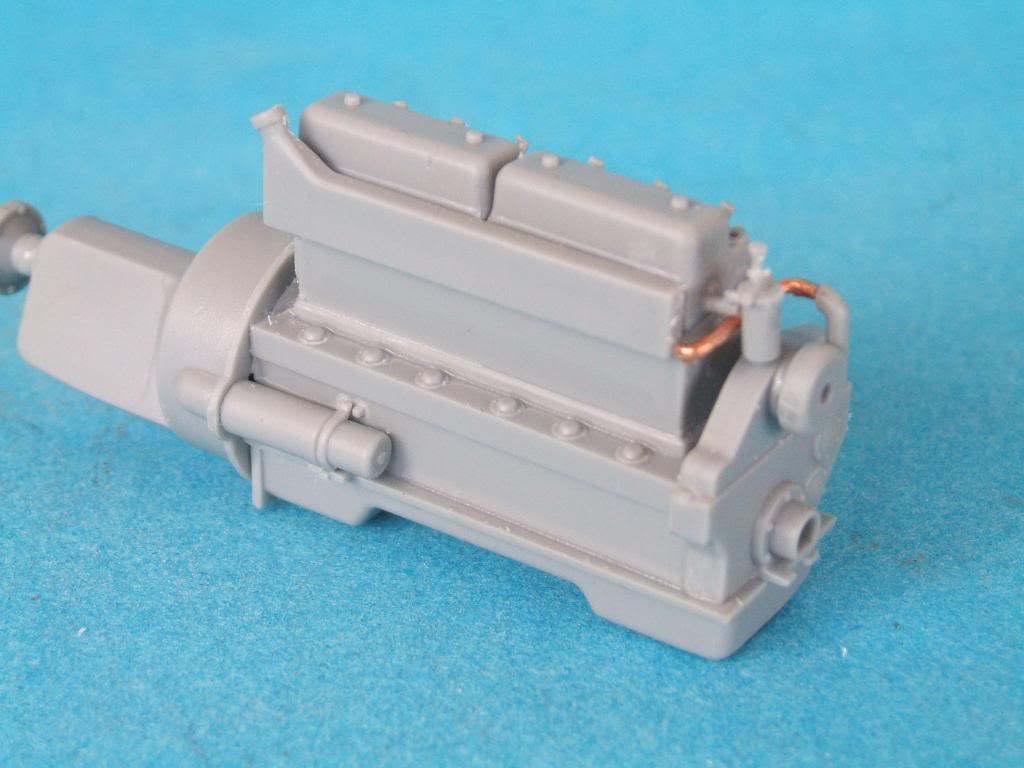
And this is the boring uninteresting side of the engine block
And another on of those "why did I take this pic shots" !
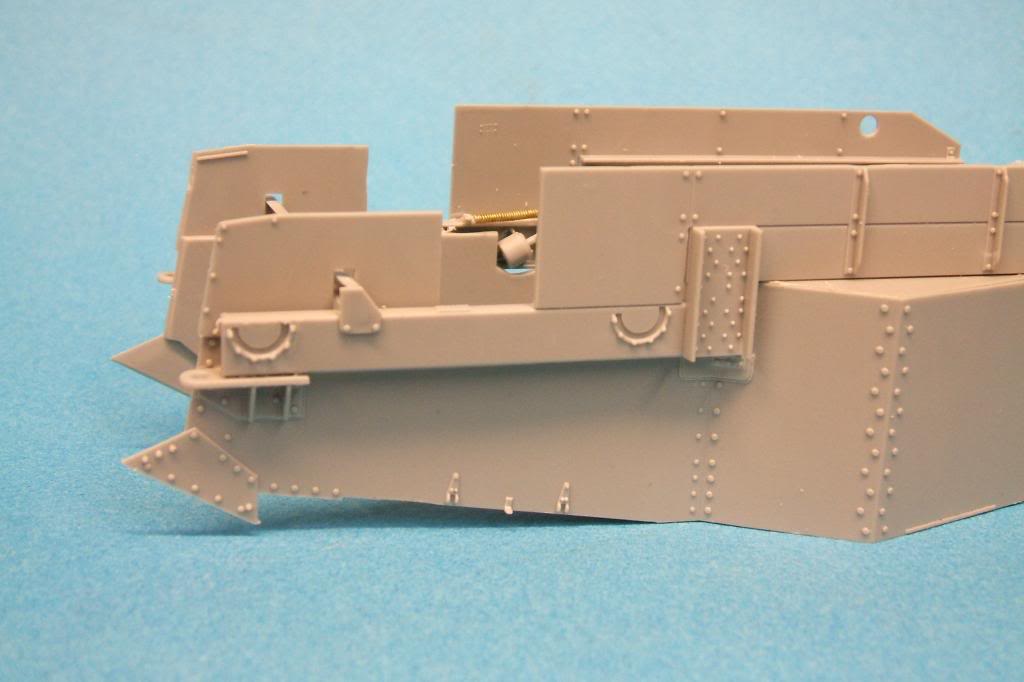
I believe that before I start puttting any more in the underneath sides, I am going to paint the bottom, as it will be just to hard to get at it once everything that needs to go down there is in place
Thanks for looking,
Gary

G Cooper- naughty corner commissar

- Posts : 3027
Join date : 2009-01-16
Age : 112 Location : Yuma, Az.
 Re: The really nice Mini Art AEC Mk II armored car
Lots of delicious detail there Gary! Looks awesome.
Cheers
JT
Cheers
JT
John T- Platoon Commander

- Posts : 2767
Join date : 2010-11-09
Age : 60 Location : Townsville, Australia
 Re: The really nice Mini Art AEC Mk II armored car
OK! It's been over a month since I put up any photos of what I have been doing. And I HAVE been doing things, it's just that I haven't been taking any photos, until tonight. So here we go.
First is the lower turret basket. I am not convinced that the big ammo bin on the floor has a proper top, so I may re-do that. And also fix the gunners seat, cause I put his butt crease in the wrong direction on the seat .
.
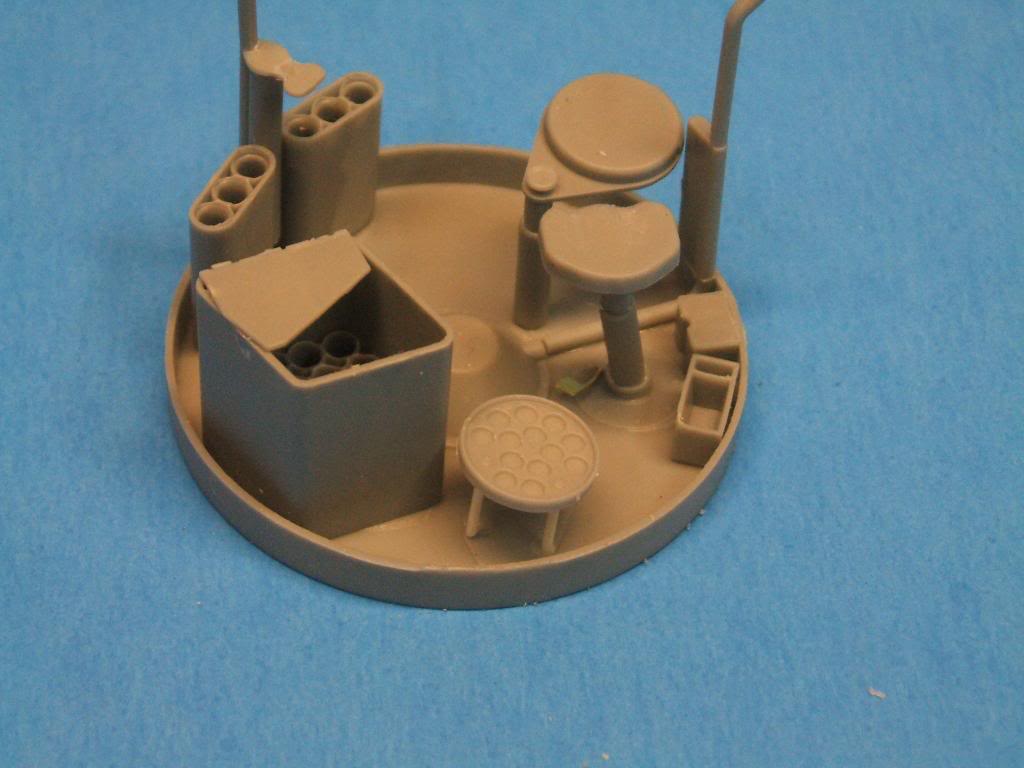
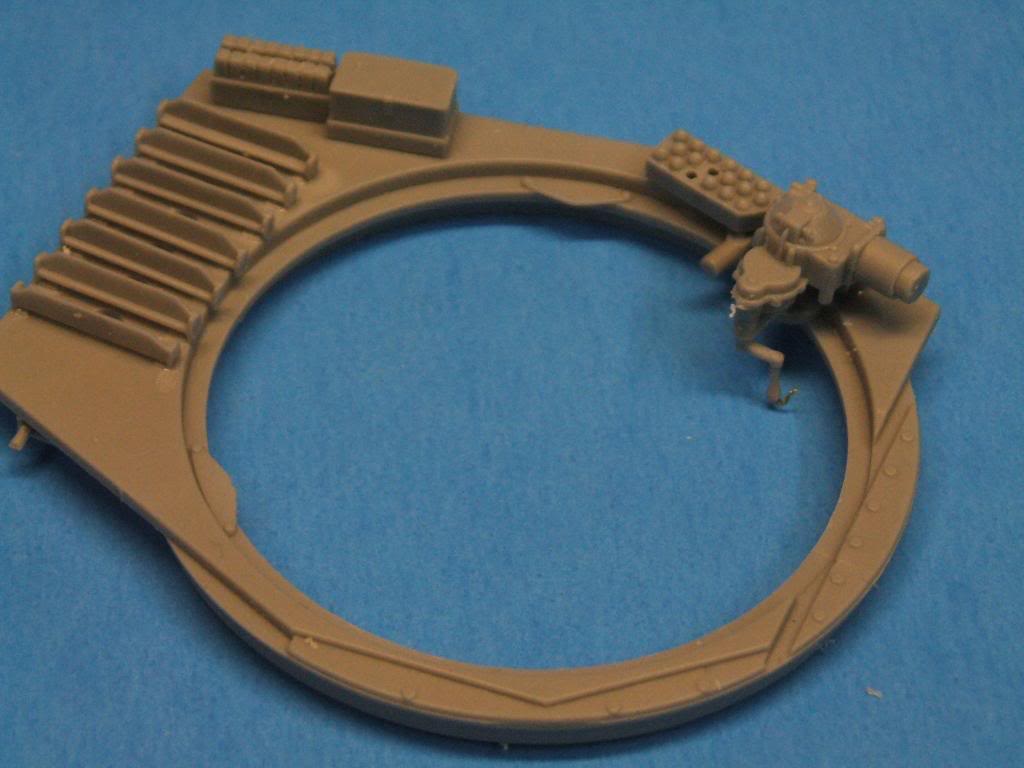
And the bottom of the turret with the MG ammo box holder frame thingys, and the manual turret traverse gear box with some other boxes.
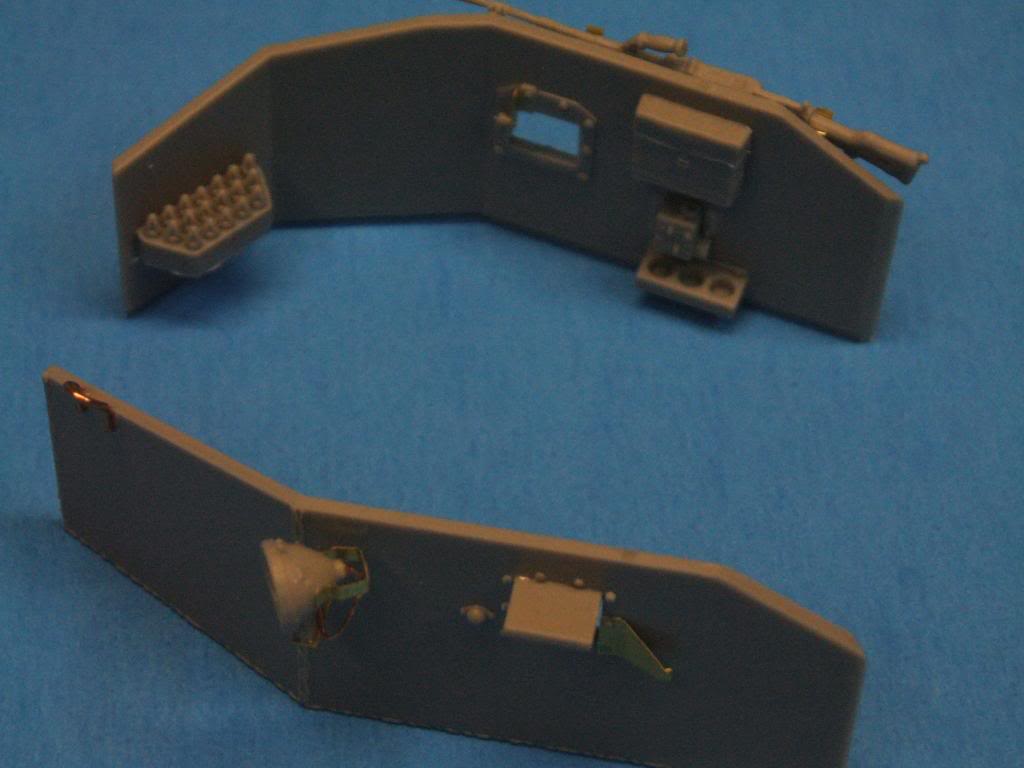
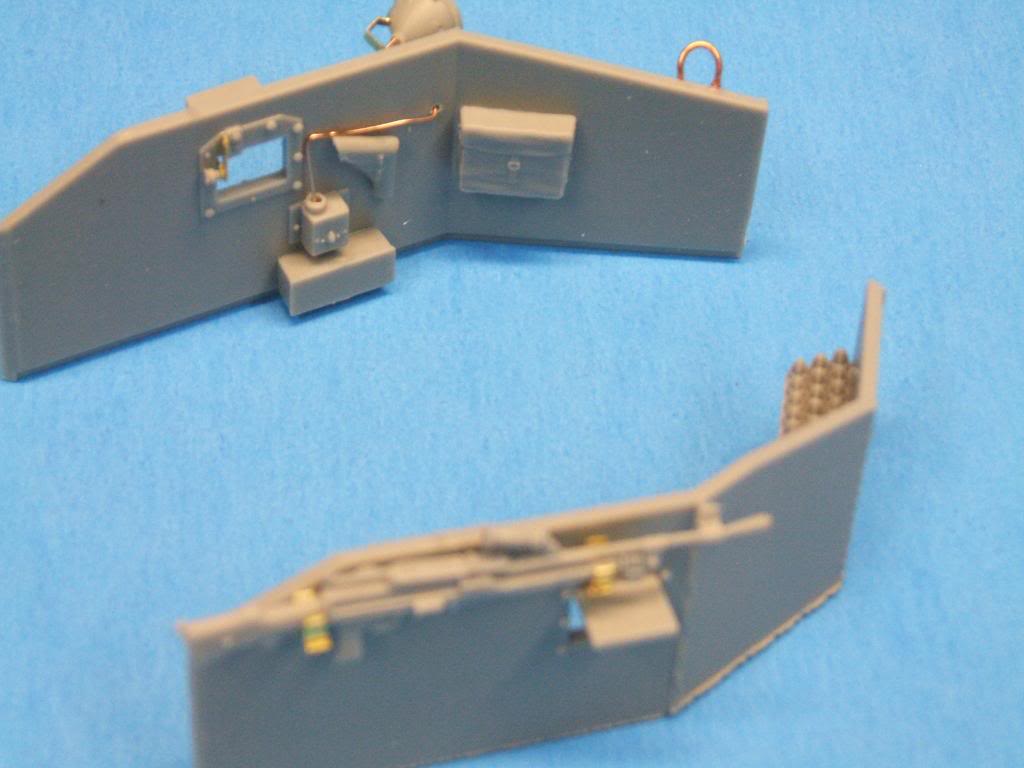
And the turret side walls with all their stuff. I am going to wait till the turret is mostly built before I do the most of the wiring for the control boxes on the inside walls.
And this is the front of the turret. I want to find out how the MG gets it's ammo. Is it a box, a clip, or a belt from somewhere? ? ? I will get that figgerd out, and sorted in the near future.

And this is the outside of the same piece. With that control box pre-drilled to take wiring and cables and stuff .
.

And not much here really. Just the turret top with a couple pieces added.
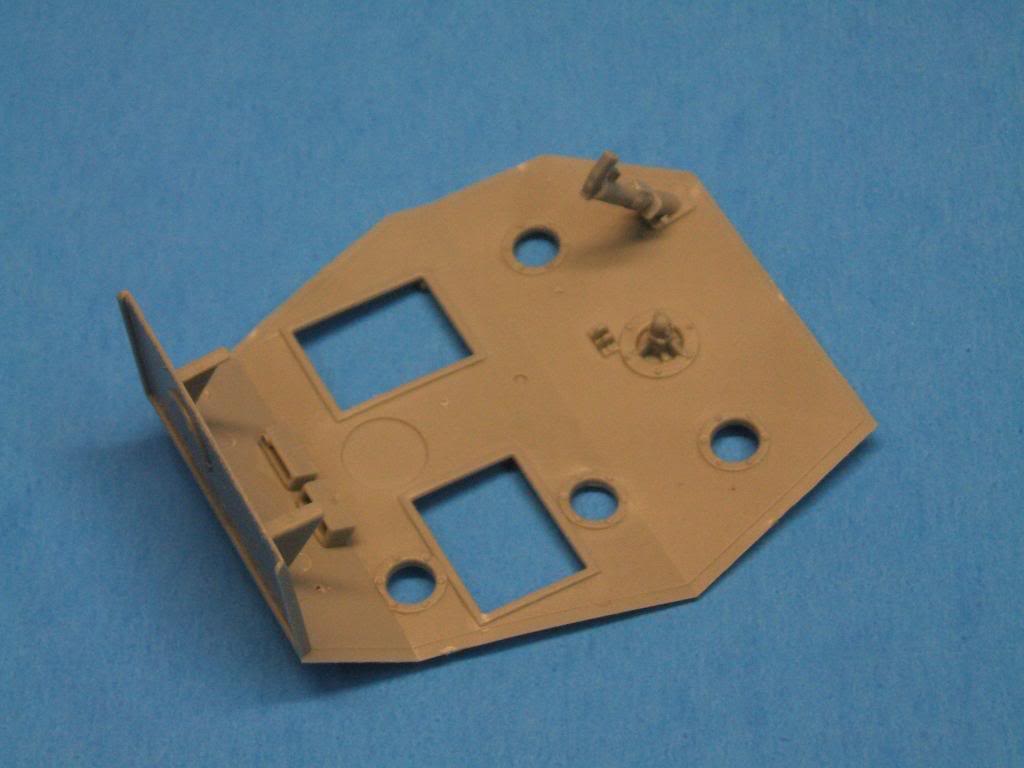
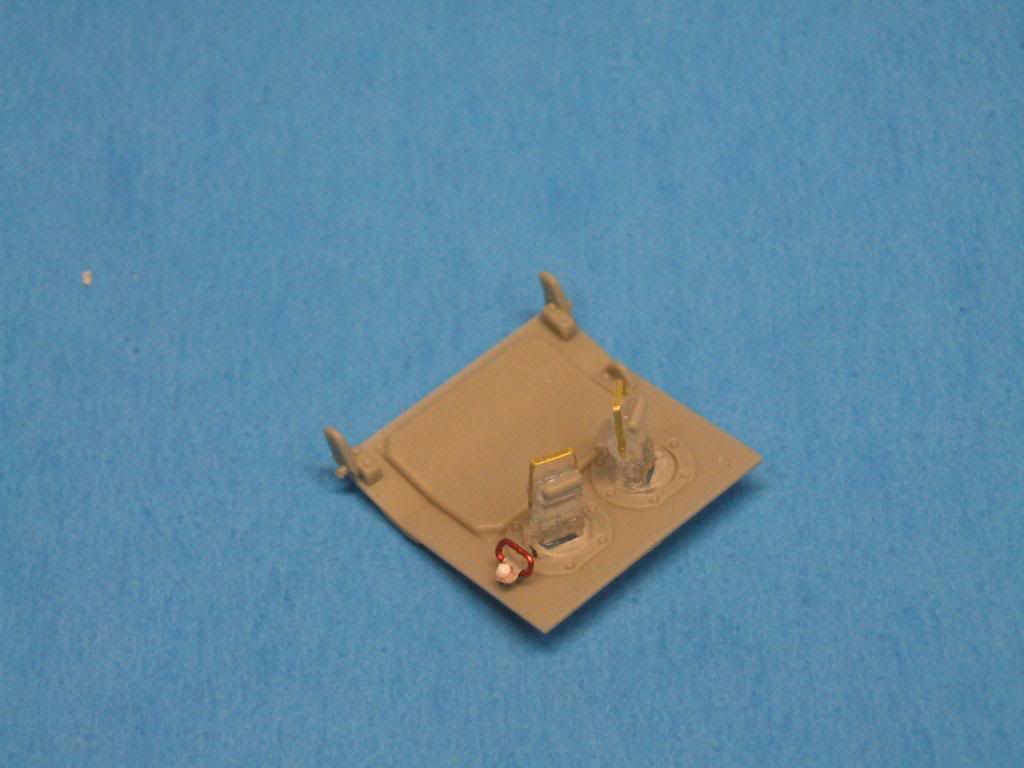
And the inside of the drivers hatch with the periscopes and the little grab handle.
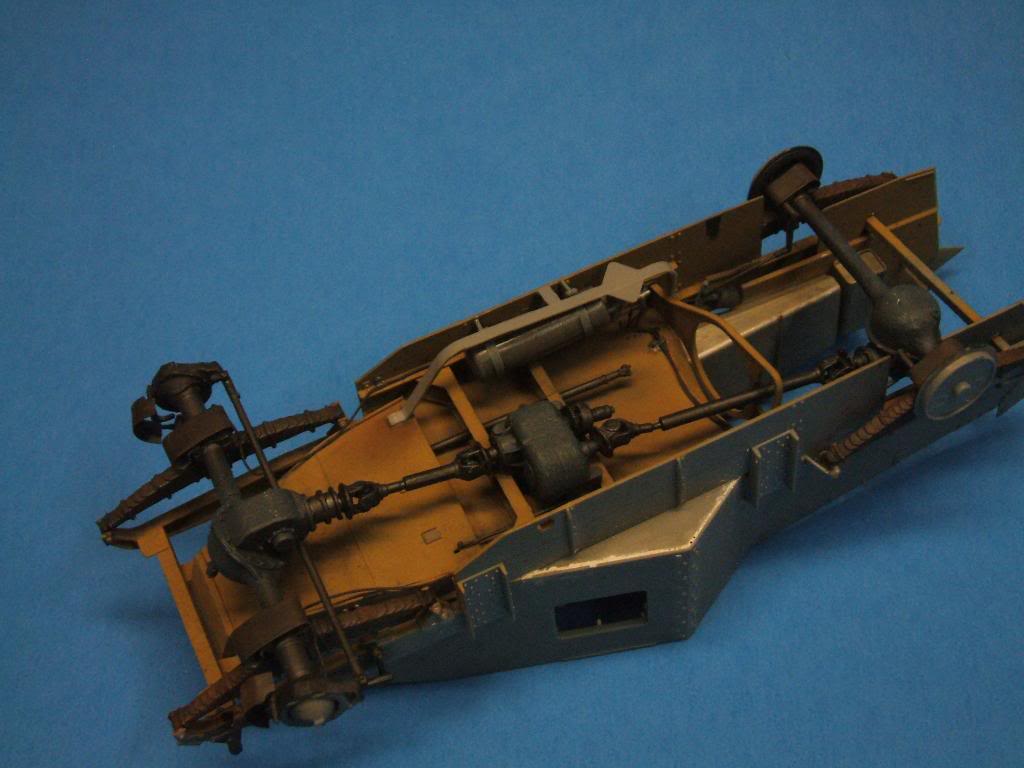
And the undersides after I put in what I believe is the air tank for the airbrakes, with the air lines, and other odds and ends.

Well that is what I have been doing with this for the last month. And I promise it will not be a month until my next update on this.
Gary
First is the lower turret basket. I am not convinced that the big ammo bin on the floor has a proper top, so I may re-do that. And also fix the gunners seat, cause I put his butt crease in the wrong direction on the seat

And the bottom of the turret with the MG ammo box holder frame thingys, and the manual turret traverse gear box with some other boxes.

And the turret side walls with all their stuff. I am going to wait till the turret is mostly built before I do the most of the wiring for the control boxes on the inside walls.


And this is the front of the turret. I want to find out how the MG gets it's ammo. Is it a box, a clip, or a belt from somewhere? ? ? I will get that figgerd out, and sorted in the near future.

And this is the outside of the same piece. With that control box pre-drilled to take wiring and cables and stuff
 .
.
And not much here really. Just the turret top with a couple pieces added.

And the inside of the drivers hatch with the periscopes and the little grab handle.

And the undersides after I put in what I believe is the air tank for the airbrakes, with the air lines, and other odds and ends.


Well that is what I have been doing with this for the last month. And I promise it will not be a month until my next update on this.
Gary

G Cooper- naughty corner commissar

- Posts : 3027
Join date : 2009-01-16
Age : 112 Location : Yuma, Az.
 Re: The really nice Mini Art AEC Mk II armored car
Looks brilliant Gary  . well it looks like a really detailed interior
  ! I like all the wiring you have done , like the searchamalight hooked up to the switchy doover on the inside .
  The Besa was belt fed from left to right , probably the box was mounted directly under the open sight .
Looking forward to more .
Jenny
Looking forward to more .
Jenny
 Just motoring along with this.
More things getting done, and I decided it was time to put the engine in so I could be just that much closer to actually being done with the build portion. So. . . .Here is what the engine looks like right now from the top side.
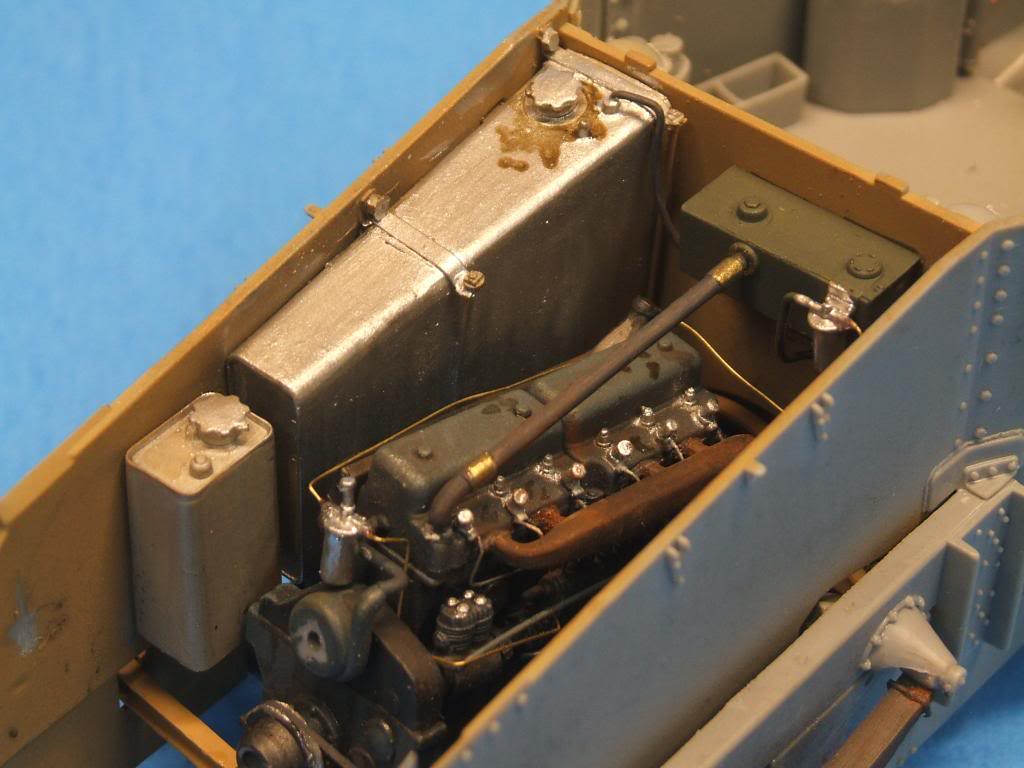
I have strung some brass wire for what I am assuming is the fuel filters, and got the double generator set up put in.
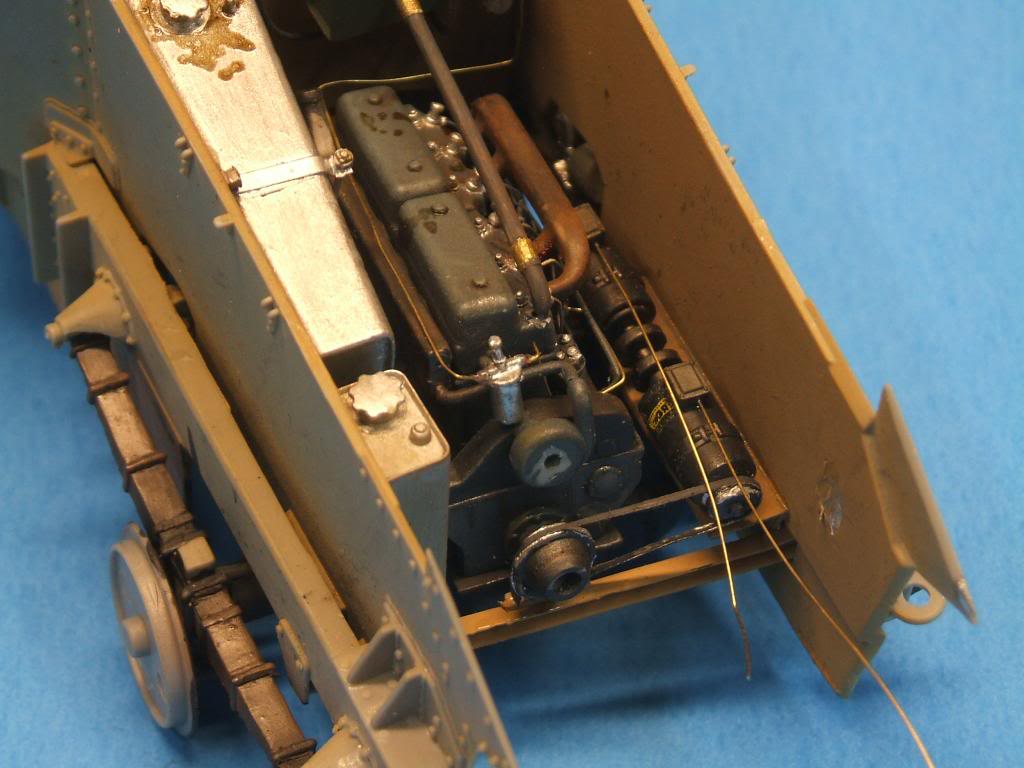
And started the wiring for the generators, and replaced the fan belt with something that looks a bit better.
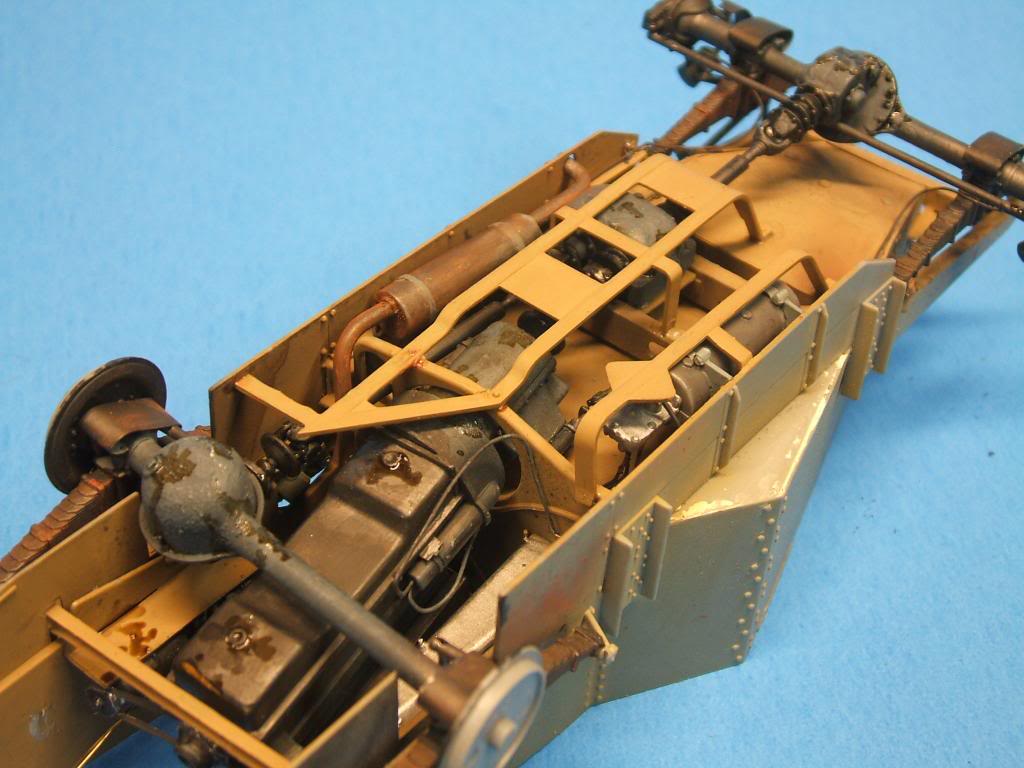
And here is what it looks like from underneath. I have wired up the starter, and just begun on the mucking up with oils and grease and dirt and such.
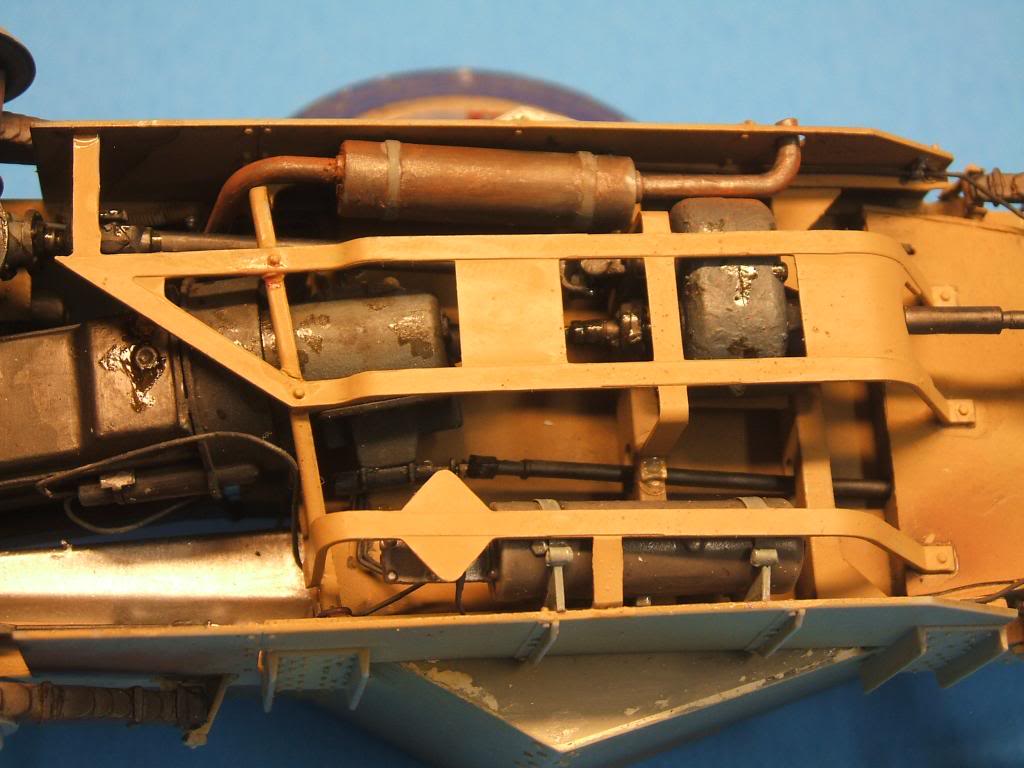
Also got the exhaust put in, and I need to clean up that bit of paint that slopped off the muffler strap there. And maybe put a bit more rust on the muffler, but I am not sure.
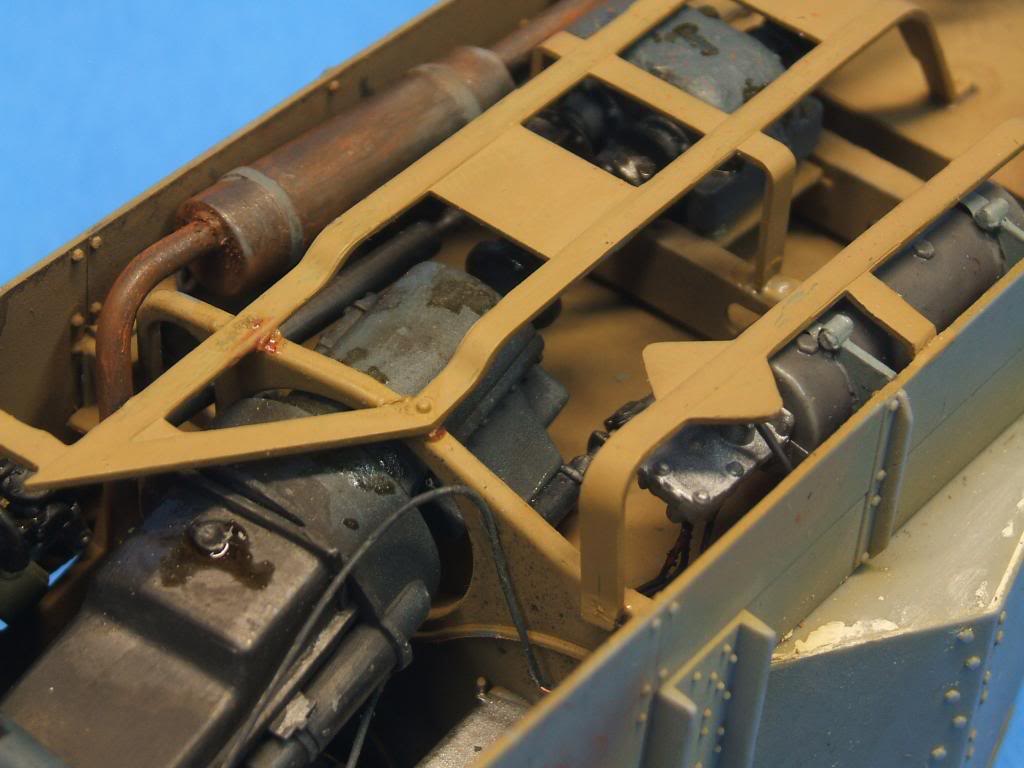
I really need to get a lot more gunk up on the bottom of the hull there. Having been underneath lots of vehicles to fix broken things it just looks waaaaaaaay to clean under there.
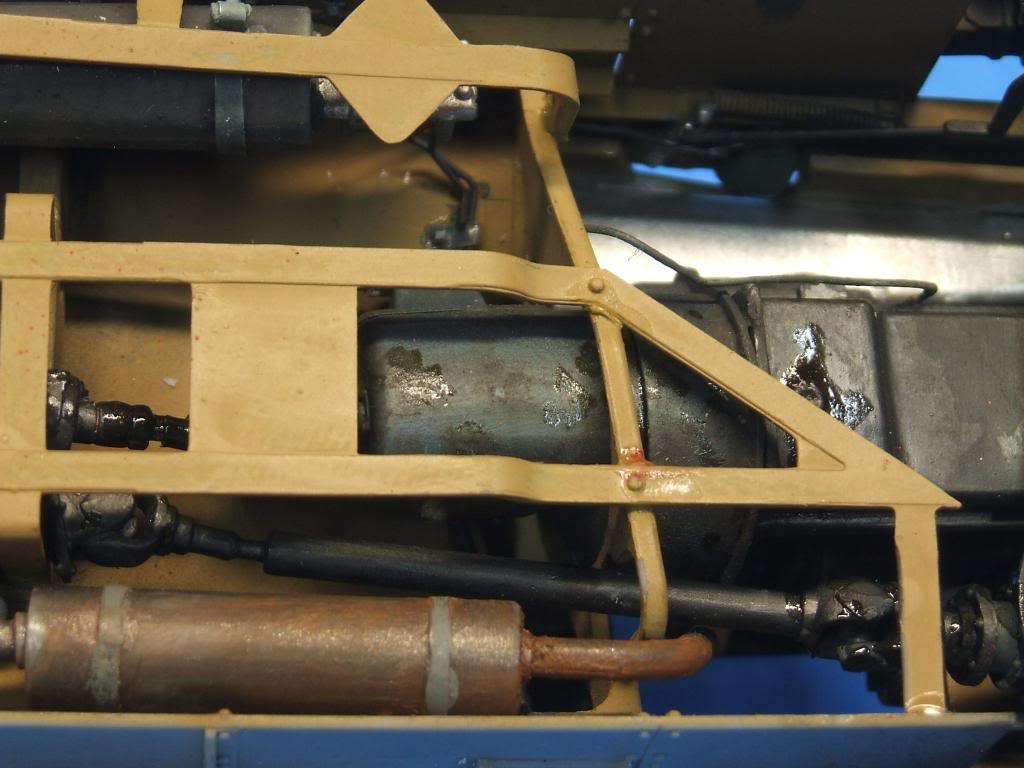
One last look again down there. I also am going to scratch and scrape the heck out of those rock/brush guards.
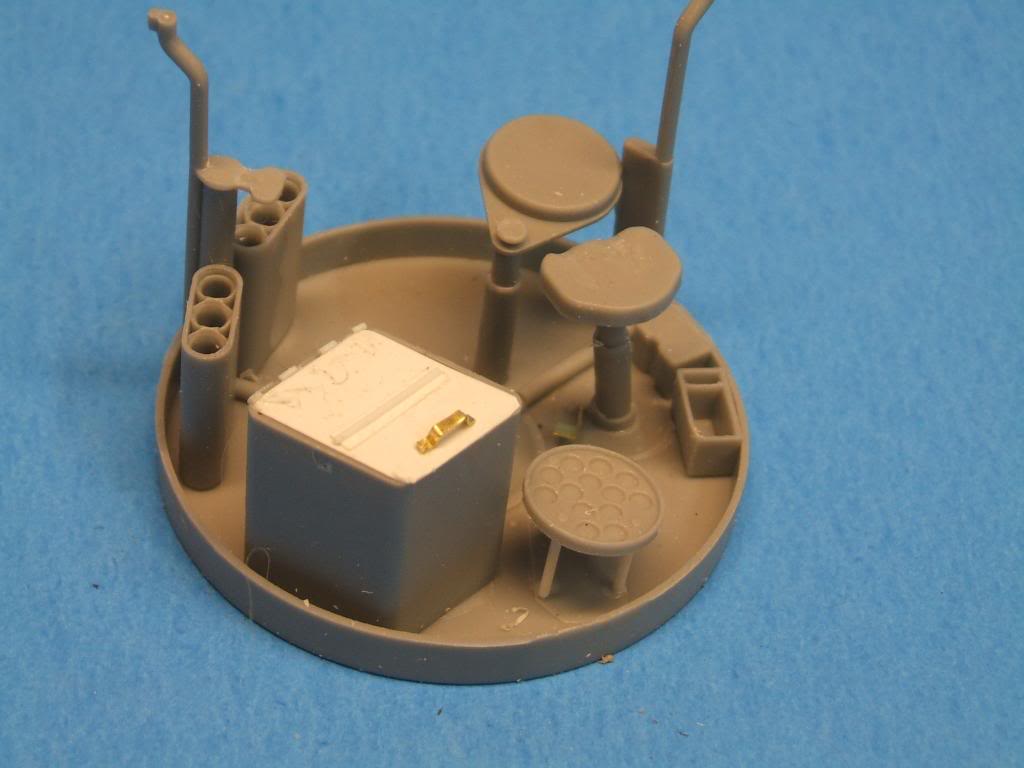
And the new ammo bin cover. This seem so much more logical than the horribly ill fitting piece that they gave me for this.

And rewired the searchlight the way it is supposed to be, and am halfway through fixing the little flag holder (?) thingy that is on the bolts around the turret side hatch port.
And that is all there is this time around. Next up is working out where I am going to mount the battery and battery holder I have made, and getting the radiator and the rest of the water hoses in place.
Gary

I have strung some brass wire for what I am assuming is the fuel filters, and got the double generator set up put in.

And started the wiring for the generators, and replaced the fan belt with something that looks a bit better.

And here is what it looks like from underneath. I have wired up the starter, and just begun on the mucking up with oils and grease and dirt and such.

Also got the exhaust put in, and I need to clean up that bit of paint that slopped off the muffler strap there. And maybe put a bit more rust on the muffler, but I am not sure.

I really need to get a lot more gunk up on the bottom of the hull there. Having been underneath lots of vehicles to fix broken things it just looks waaaaaaaay to clean under there.

One last look again down there. I also am going to scratch and scrape the heck out of those rock/brush guards.

And the new ammo bin cover. This seem so much more logical than the horribly ill fitting piece that they gave me for this.

And rewired the searchlight the way it is supposed to be, and am halfway through fixing the little flag holder (?) thingy that is on the bolts around the turret side hatch port.
And that is all there is this time around. Next up is working out where I am going to mount the battery and battery holder I have made, and getting the radiator and the rest of the water hoses in place.
Gary

G Cooper- naughty corner commissar

- Posts : 3027
Join date : 2009-01-16
Age : 112 Location : Yuma, Az.
 Re: The really nice Mini Art AEC Mk II armored car
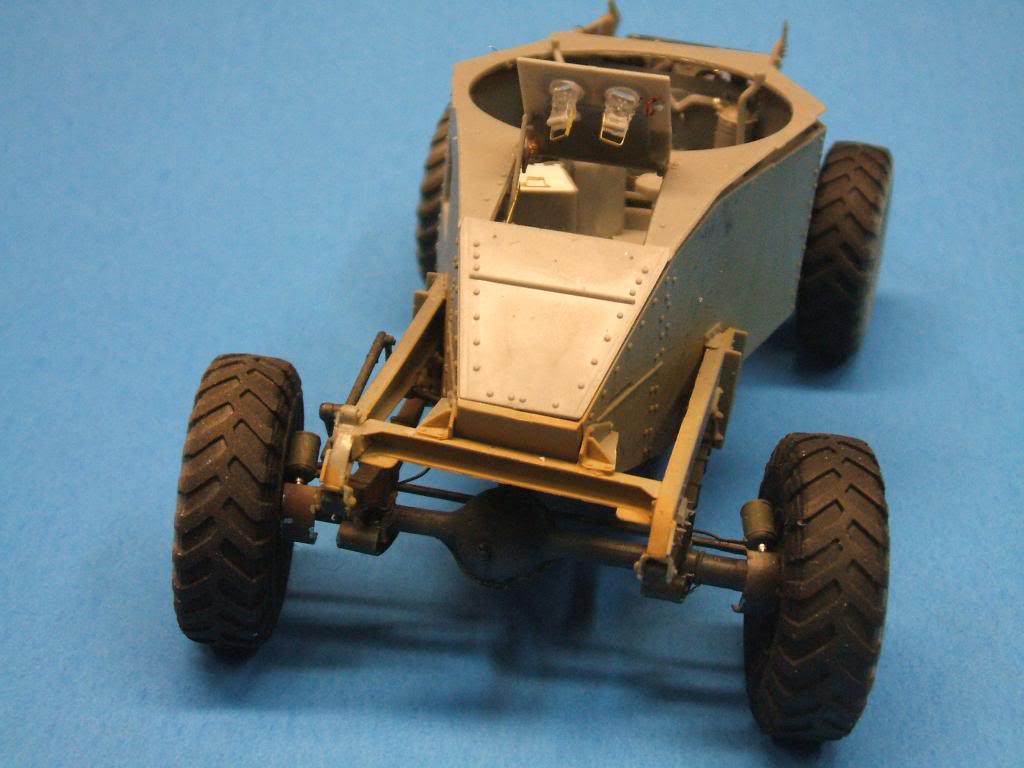
It's time for the latest photos of what I have been doing with this. I am actually getting close to being finished with the build part I think. So anyways, here it is.
I put the wheels on, just because I wanted to see what it would look like with those big tires on.

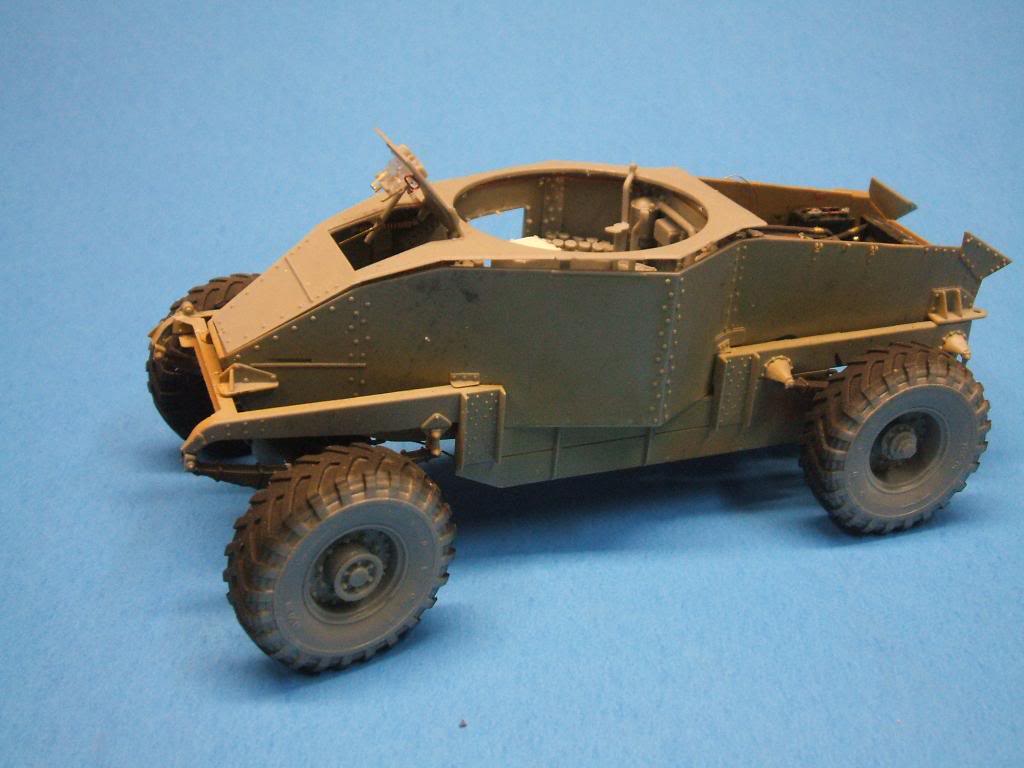
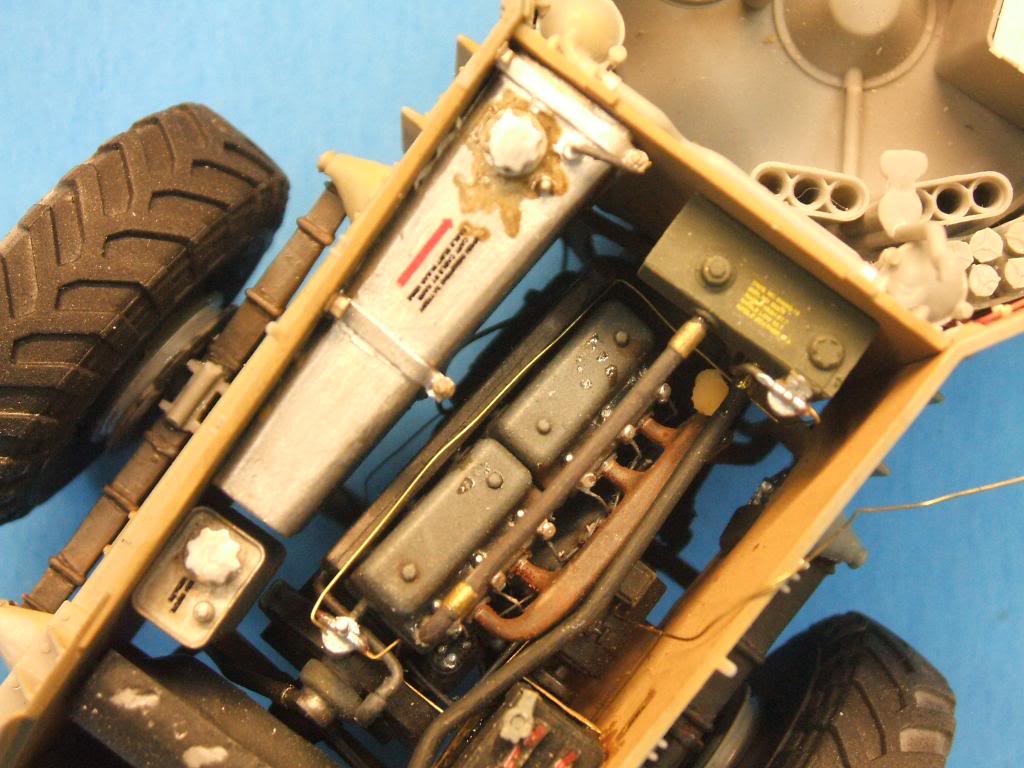
And still more work on the engine compartment. For some reason MiniArt does not give you a battery in this kit
 , and it absolutely HAS to go in the engine compartment, as there is nowhere in the fighting compartment for it to go. So I made one of my own, and put it the only reasonable place it could have been
  .
. 
I also put the radiator and the fan with fan belt (even though it can't be seen
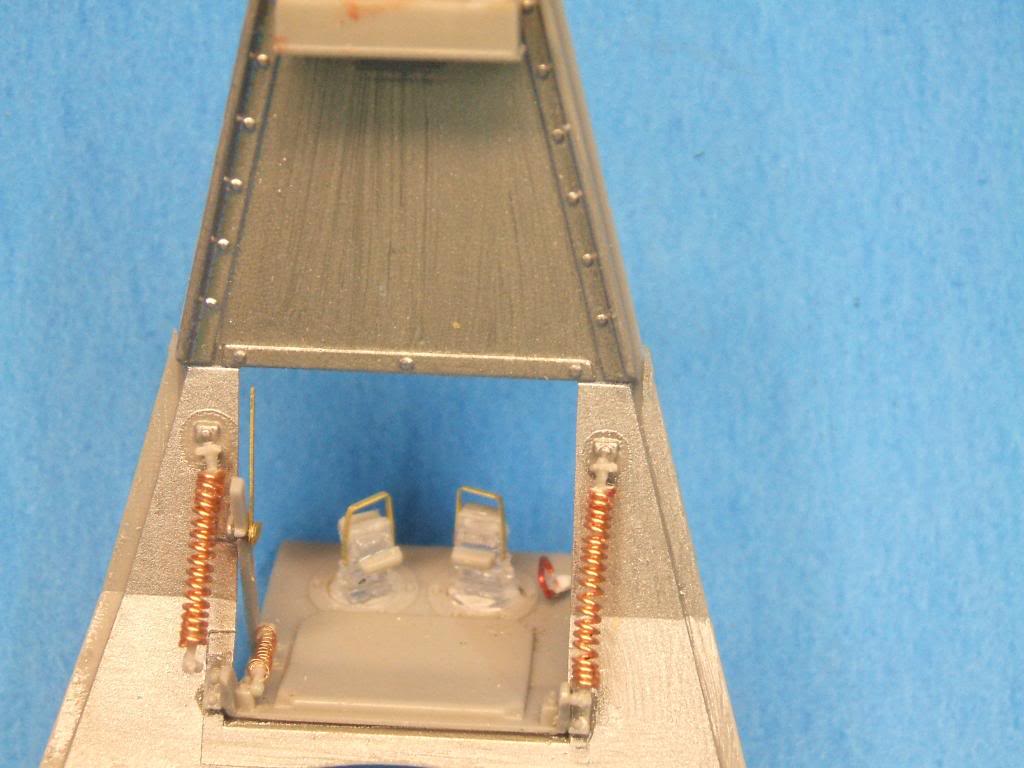
And then I have replaced the plastic springs on the drivers hatch, and all the little this and thats which are on the hatch.
Then I put in the MG ammo boxes. It only seemed sensible to me that they would have some kind of strap on them, so I rigged this up. And it may not show up, but the ammo boxes are painted slightly different colors (something I learned to do from watching Jenny

And also started the basic shell of the turret, as I needed to do this so I could finish the internal wiring to all the lights and radio, and other electrical stuff.

And not much new here, except the shelf that the radios sit on, and the periscopes.

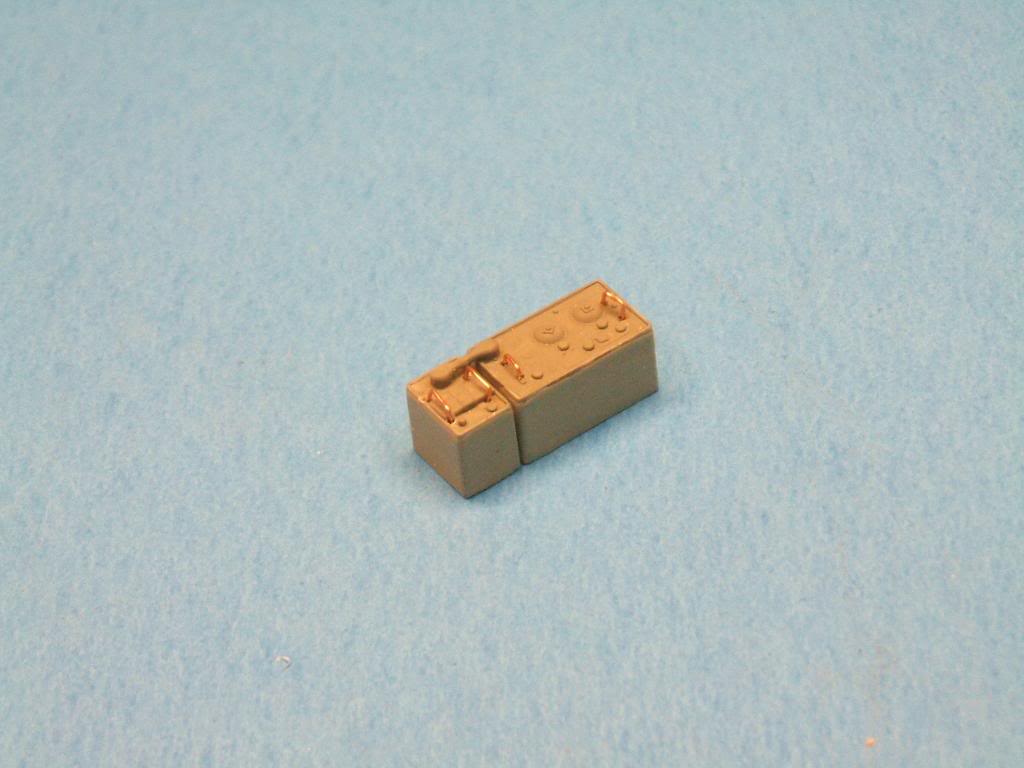
And the radios that will sit on the new shelf.
And I am going to have one side of this all crunched up, so I made a new
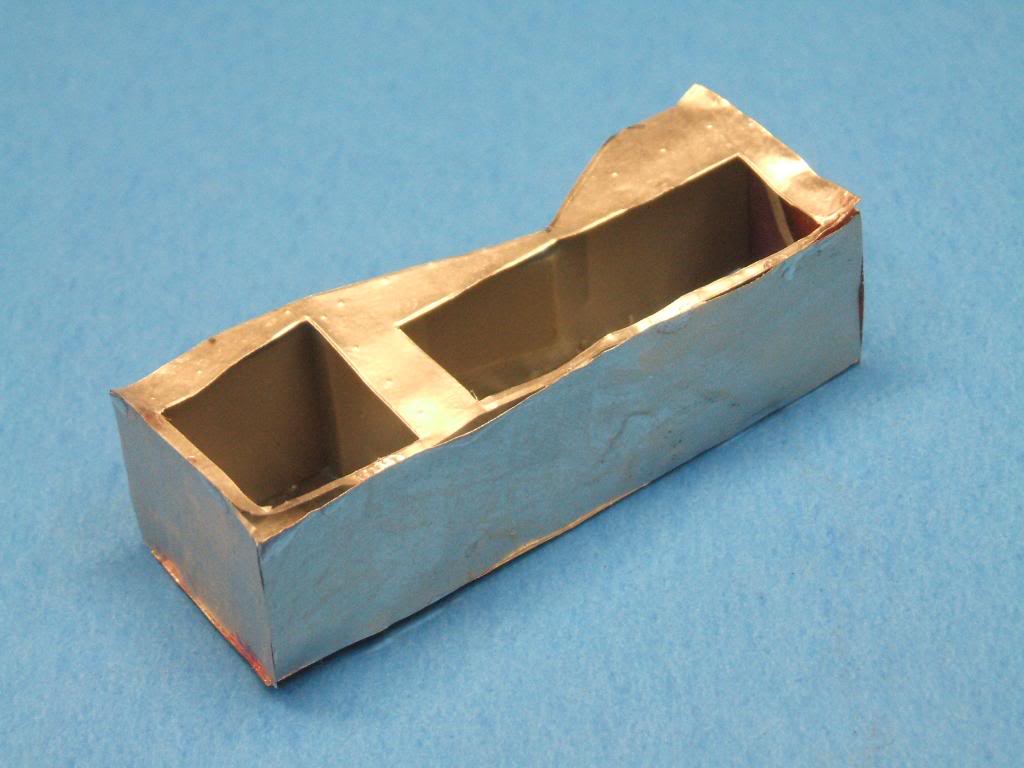
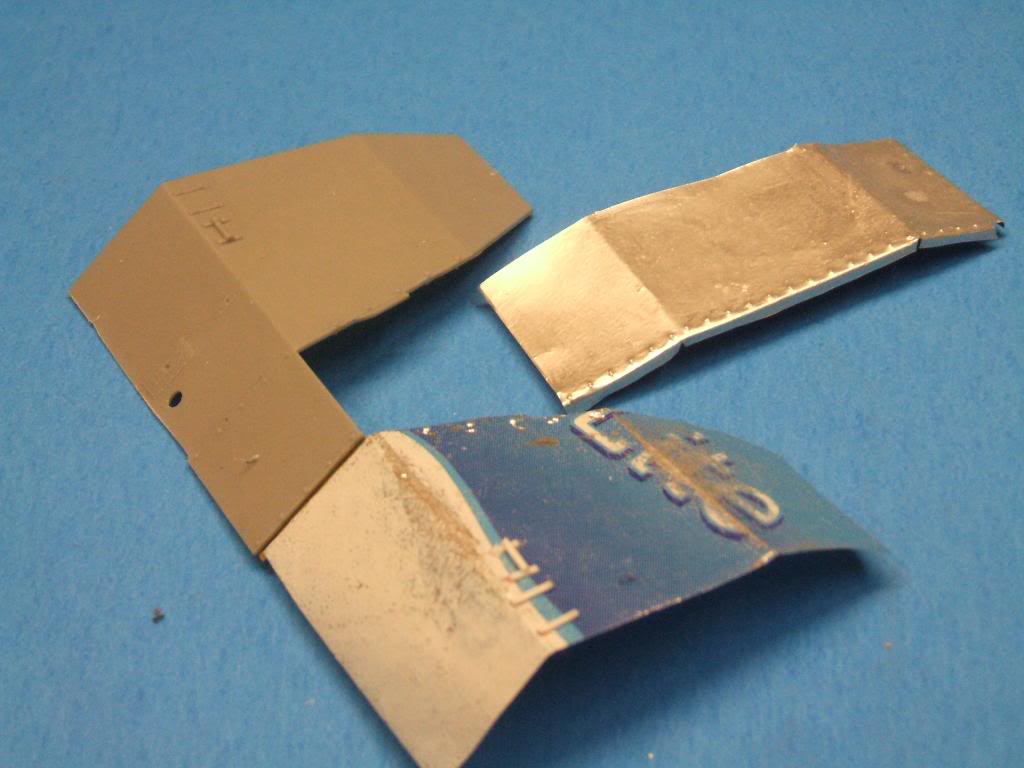
The storage box is not perfect, but it doesn't need to be, as it is going to be heavily damaged, and the little misses here and there will never be seen with what I am going to eventually do with this when it is finished, and on a diorama base
Gary

G Cooper- naughty corner commissar

- Posts : 3027
Join date : 2009-01-16
Age : 112 Location : Yuma, Az.
 Similar topics
» A new mini diorama base from Mini-Art
» 1/72 snow tires for the M3A1 and the M8/M20 Armored Cars
» Armored Thunderbolt, a great new book by Steve Zaloga
» New from Mini Art
» New from MiniArt
» 1/72 snow tires for the M3A1 and the M8/M20 Armored Cars
» Armored Thunderbolt, a great new book by Steve Zaloga
» New from Mini Art
» New from MiniArt
Page 1 of 1
Permissions in this forum:
You cannot reply to topics in this forum